Creating a Freshservice Ticket
Overview
In this article, we will review the steps for creating a Freshservice Ticket. Please refer to Creating a Ticket Action before reviewing this article.
Add a New Freshservice Configuration
This step might have been completed by another user in your Organization. If this is the case, you may skip ahead to the following section.
Before you can send issues to Freshservice, you will need to configure the Freshservice integration. Follow these instructions for configuring the integration.
Creating a Freshservice Ticket
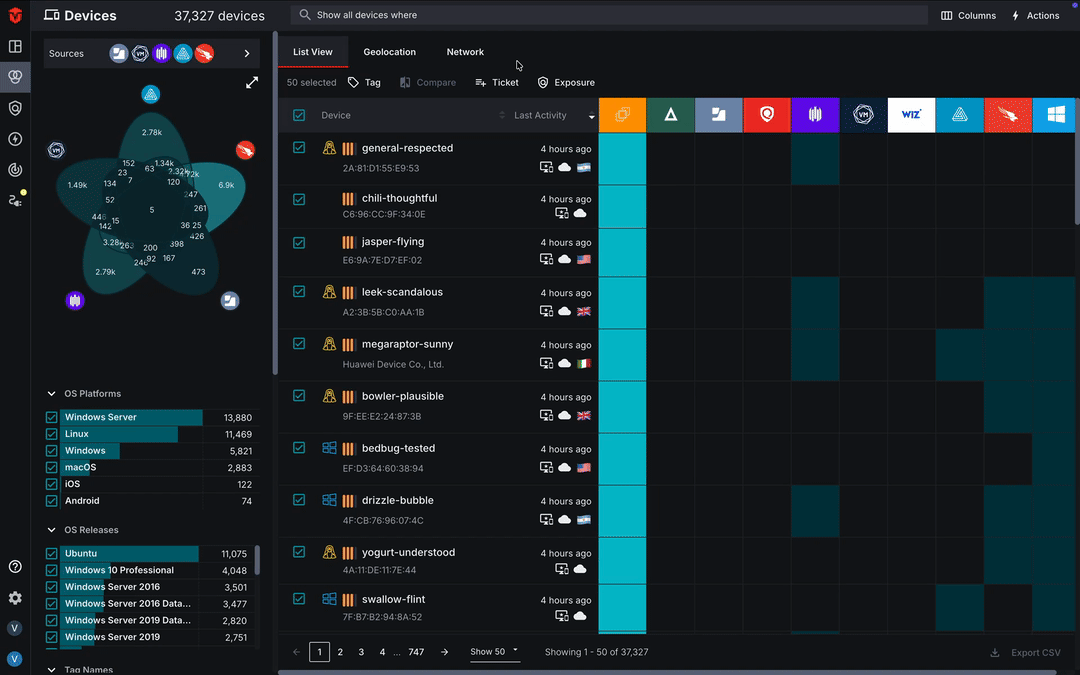
Once you have run your query and selected your assets, you will be ready to begin creating a Freshservice ticket.
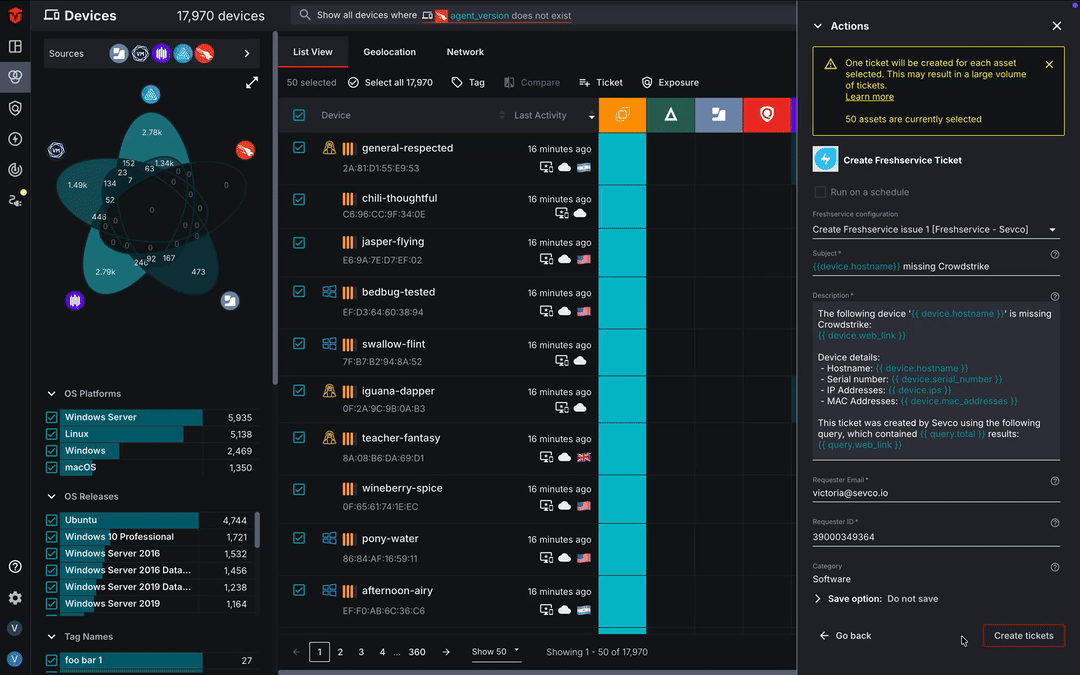
Select the Actions link in the top-right corner of the page followed by the Create Freshservice Ticket link. Next, select the Start new ticket button.
3. Fill out the Issue Form
We recommend referring to the Freshservice Ticket Form Fields section of this document before filling our your ticket form.
Next, you will need to fill out your ticket form. This can be done using a combination of plain text and template language tags. Required fields are marked with an asterisk(*).
4. Send Your Ticket
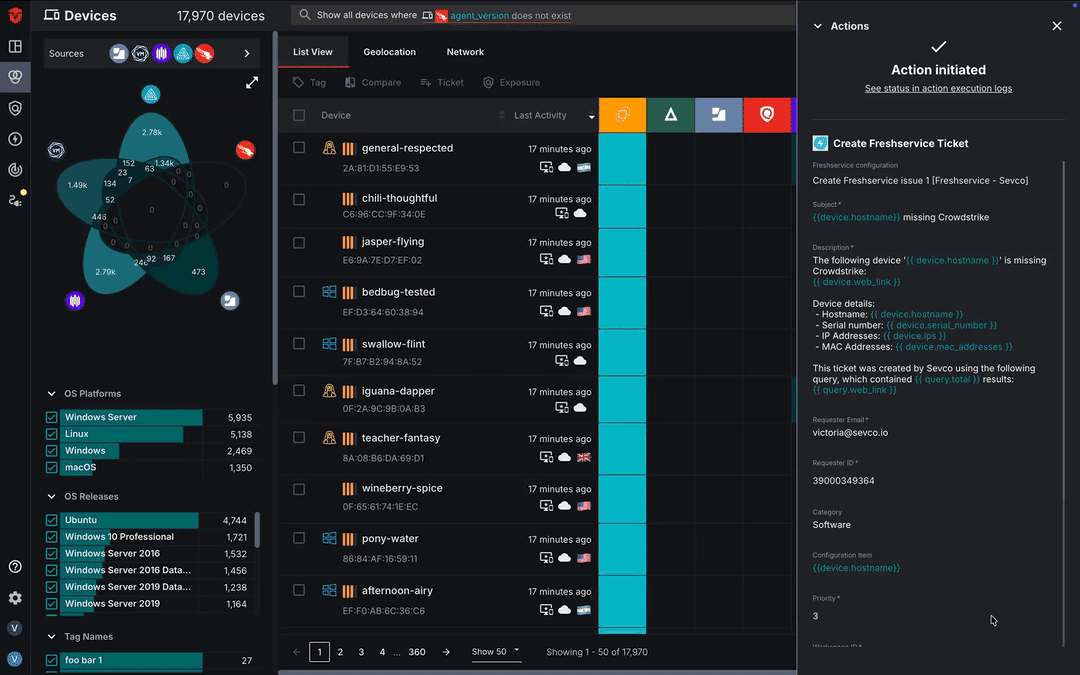
Once you have finished, select the Create Ticket button. This will send your ticket to Freshservice.
An Action initiated message will appear, indicating that your ticket has been sent successfully. From here, you can select the execution logs link to view its delivery status on the Action Center page.
Freshservice Ticket Form Fields
The following are definitions for the Jira issue form fields you will be filling out.
Subject – A ticket subject to provide context
Description – Use this field to include any important information about the assets you have included in your ticket.
Requester Email – The email of the requester for your ticket
Requester ID – The User ID of a requester (if an existing contact)
Category – The category of your ticket
Contact Type – The method through which your ticket will be received
Impact – The effect the ticket has on service levels
Priority – The priority of your ticket
Urgency – The urgency of your ticket
Workspace ID – The ID of the Workspace that your ticket belongs to. If not provided, the ID of your primary Workspace will be used.
Department ID – The ID of the Department your ticket belongs to
Due By – The date and time that your ticket is due at (use ISO 8601 format)
First Response Due By – The date and time that the first response to the ticket is due by (use ISO 8601 format)
Group ID – The ID of the Group you are assigning your ticket to
Subcategory – The subcategory of your ticket
Responder ID – The ID of the Agent you are assigning your ticket to
Source – The channel that your ticket was created through
Tags – Any Tags that you would like to associate with your ticket
Updated 3 months ago