Scheduling an Action
Overview
Scheduling actions allows users to automate saved actions, eliminating the need to manually trigger actions. When configured, scheduled actions will automatically execute the defined saved query on a schedule and take action on any new asset identified since the previous run, preventing duplication. Automating actions provides benefits such as:
- Eliminating repetitive tasks such as having to manually execute a ticket action each time you’d like to create tickets for a group of assets
- Reducing the need to context switch in the Aurora ASM platform, allowing you to focus on tasks that require more expertise and provide a higher value
- Preventing duplicate efforts such as applying an action to an asset multiple times
In this article, we will review several ways you can create scheduled actions in the Aurora ASM platform.
Creating a Scheduled Action
From the Action Center page, select the Actions button in the top-right corner of the page. The Actions panel will appear. Use the Select an asset type dropdown to select the asset type you would like to apply your action to. After that, select the action you would like to take.
Once you have selected the action, check the Run on a schedule checkbox on the Actions panel. A new section will appear.
- Select the saved query you would like to apply your action to from the Select saved query dropdown
- Use the date and time fields to specify when and how often you would like the action to run
From here, we recommend referring to the action or Source plugin documentation associated with your action for additional information on completing this process.
From the Live Inventory
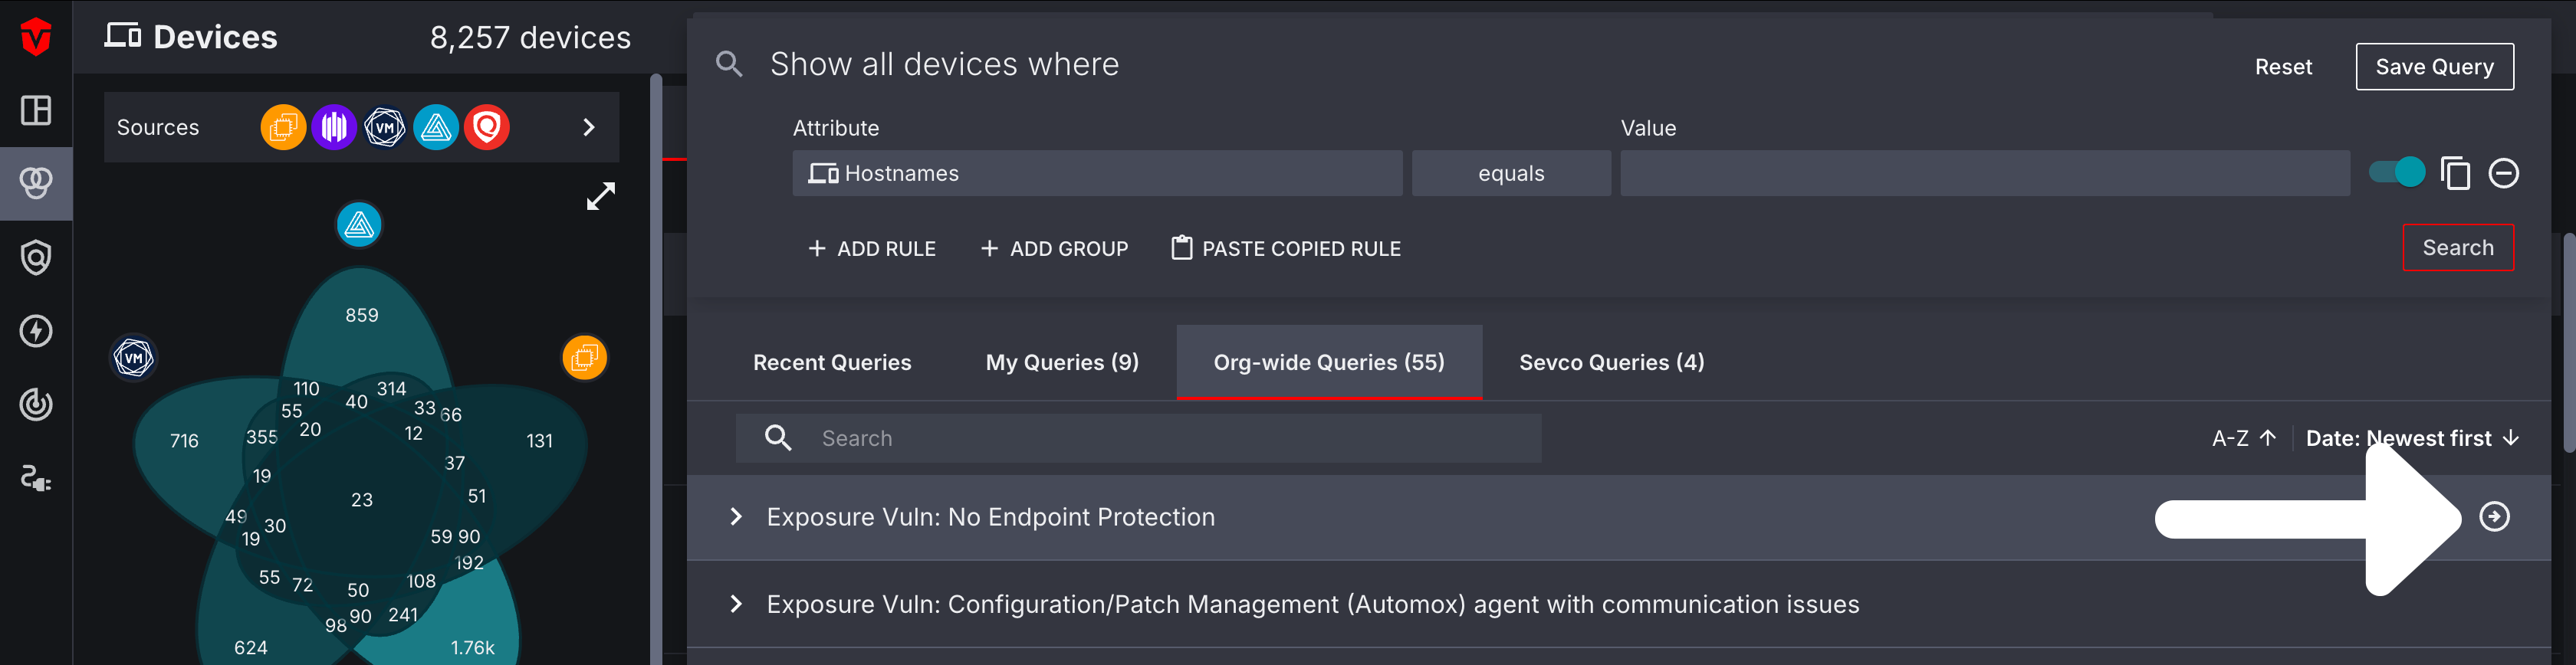
In addition to the Action Center page, you can also create a new scheduled action from the Live Inventory page.
To begin, open the query builder and execute the saved query you would like to apply an action to. Please note that if you skip this step, you will not be able to apply a schedule to your action from this page.
From here, select the Actions link in the top-right corner of the page.
The Actions panel will appear on the right side of the page with a list of actions. Select the action you would like to perform (in this example we are selecting a ticketing platform you would like to create a ticket action for).
Once you have selected your ticketing platform, check the Run on a schedule checkbox at the top of the Actions panel. A new section will appear.
- The Query name field will be filled in with the name of your saved query by default. Please note that changes to this name will not be reflected in the final action.
- Use the date and time fields to specify when and how often you would like your action to run
From here, we recommend referring to the action or Source plugin documentation associated with your action for additional information on completing this process.
Updating an Existing Saved Ticket Action
If you have an existing saved action that you would like to run on a schedule, you can update it from the Action Center page.
Navigate to the Saved actions tab and select your saved action from the actions list. The Ac****tions panel will appear on the right side of the page. Select the edit button to continue.
Next, check the Run on a schedule checkbox at the top of the Actions panel. A new section will appear.
- Select the saved query you would like to apply your action to from the Select saved query dropdown
- Use the date and time fields to specify when and how often you would like your action to run
Once you have set your query and schedule, select the Save Option toggle at the bottom of the Actions panel. From here you can choose to apply your schedule to your existing action or save it as a new ticket action.
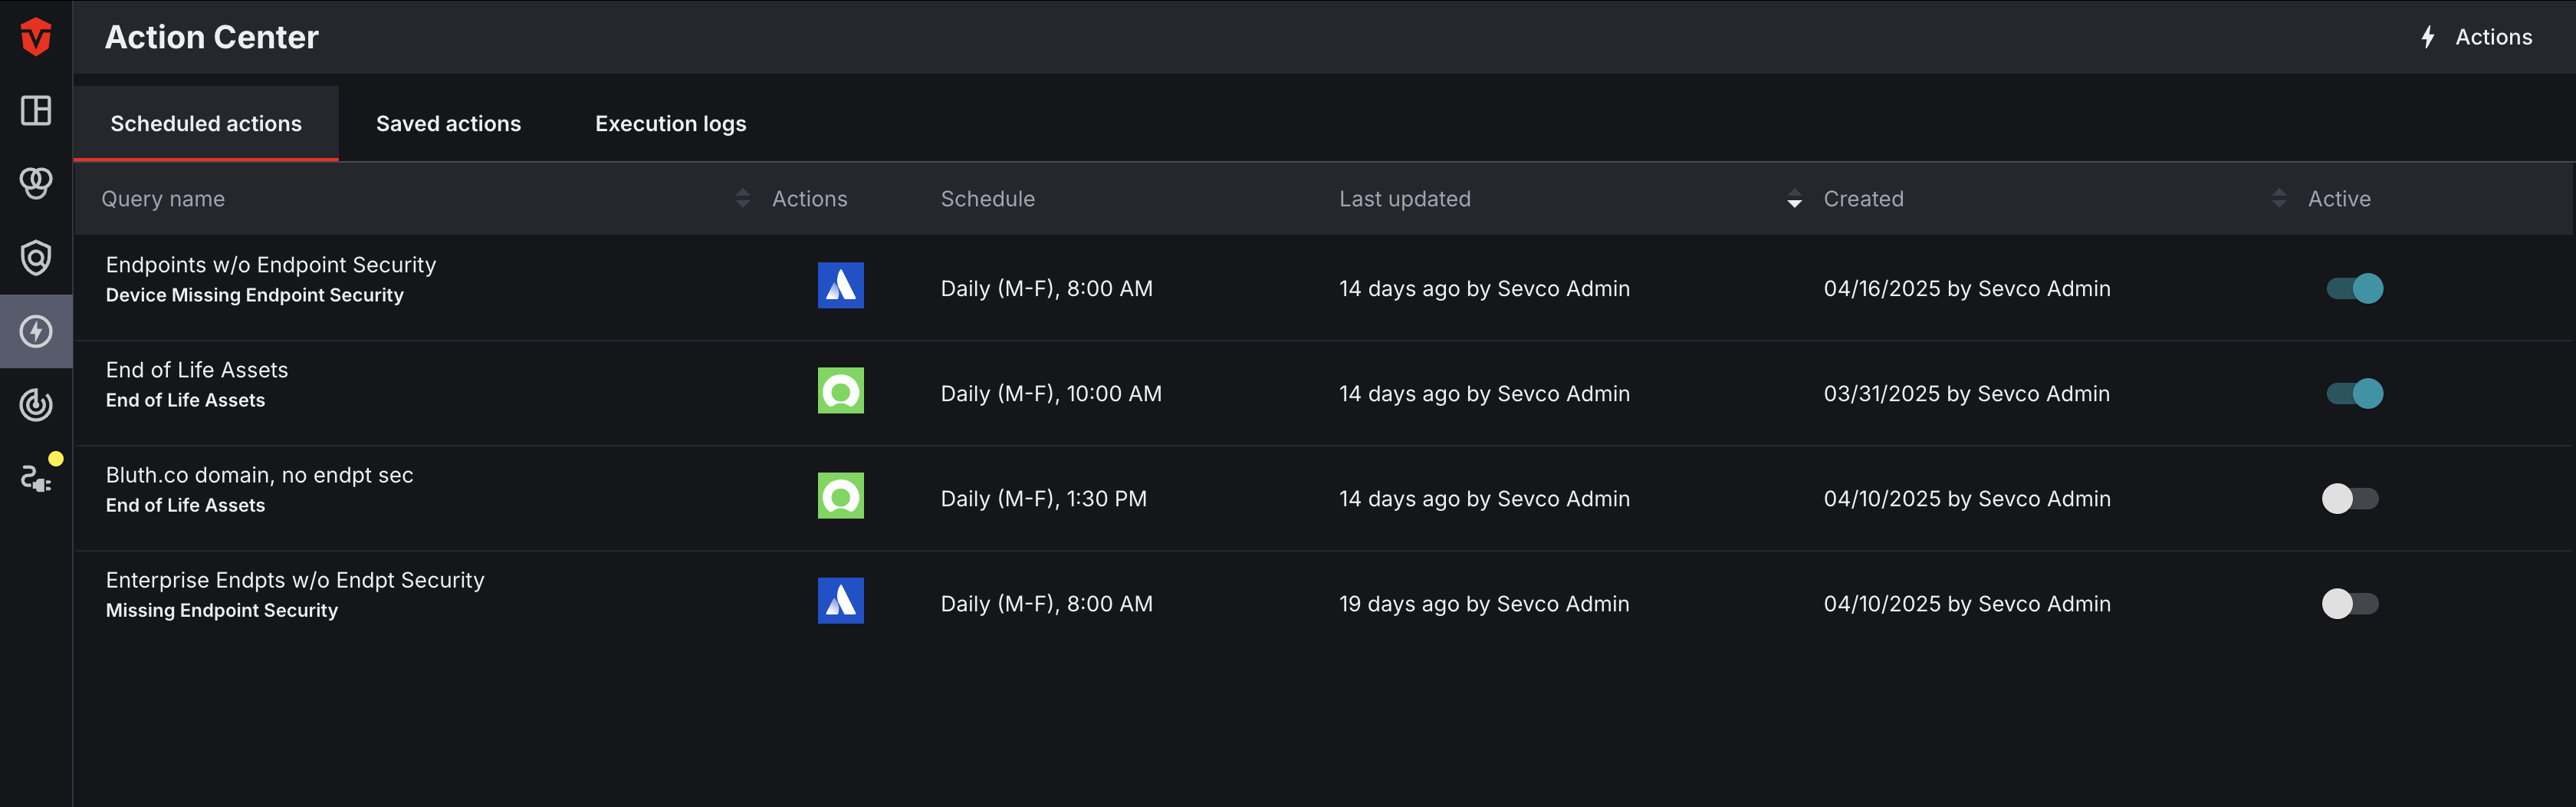
Viewing Scheduled Ticket Actions
After you've created a scheduled action, you can view and make changes to it from the Scheduled actions tab of the Action Center page.
Updated 3 months ago