Managing Tracked Queries
Overview
The Tracked Queries page tracks specific queries over time. It features a handful of Global Queries that can be viewed by anyone in your Organization. Additionally, you may also add custom queries to the My Queries and Org-wide Queries lists.
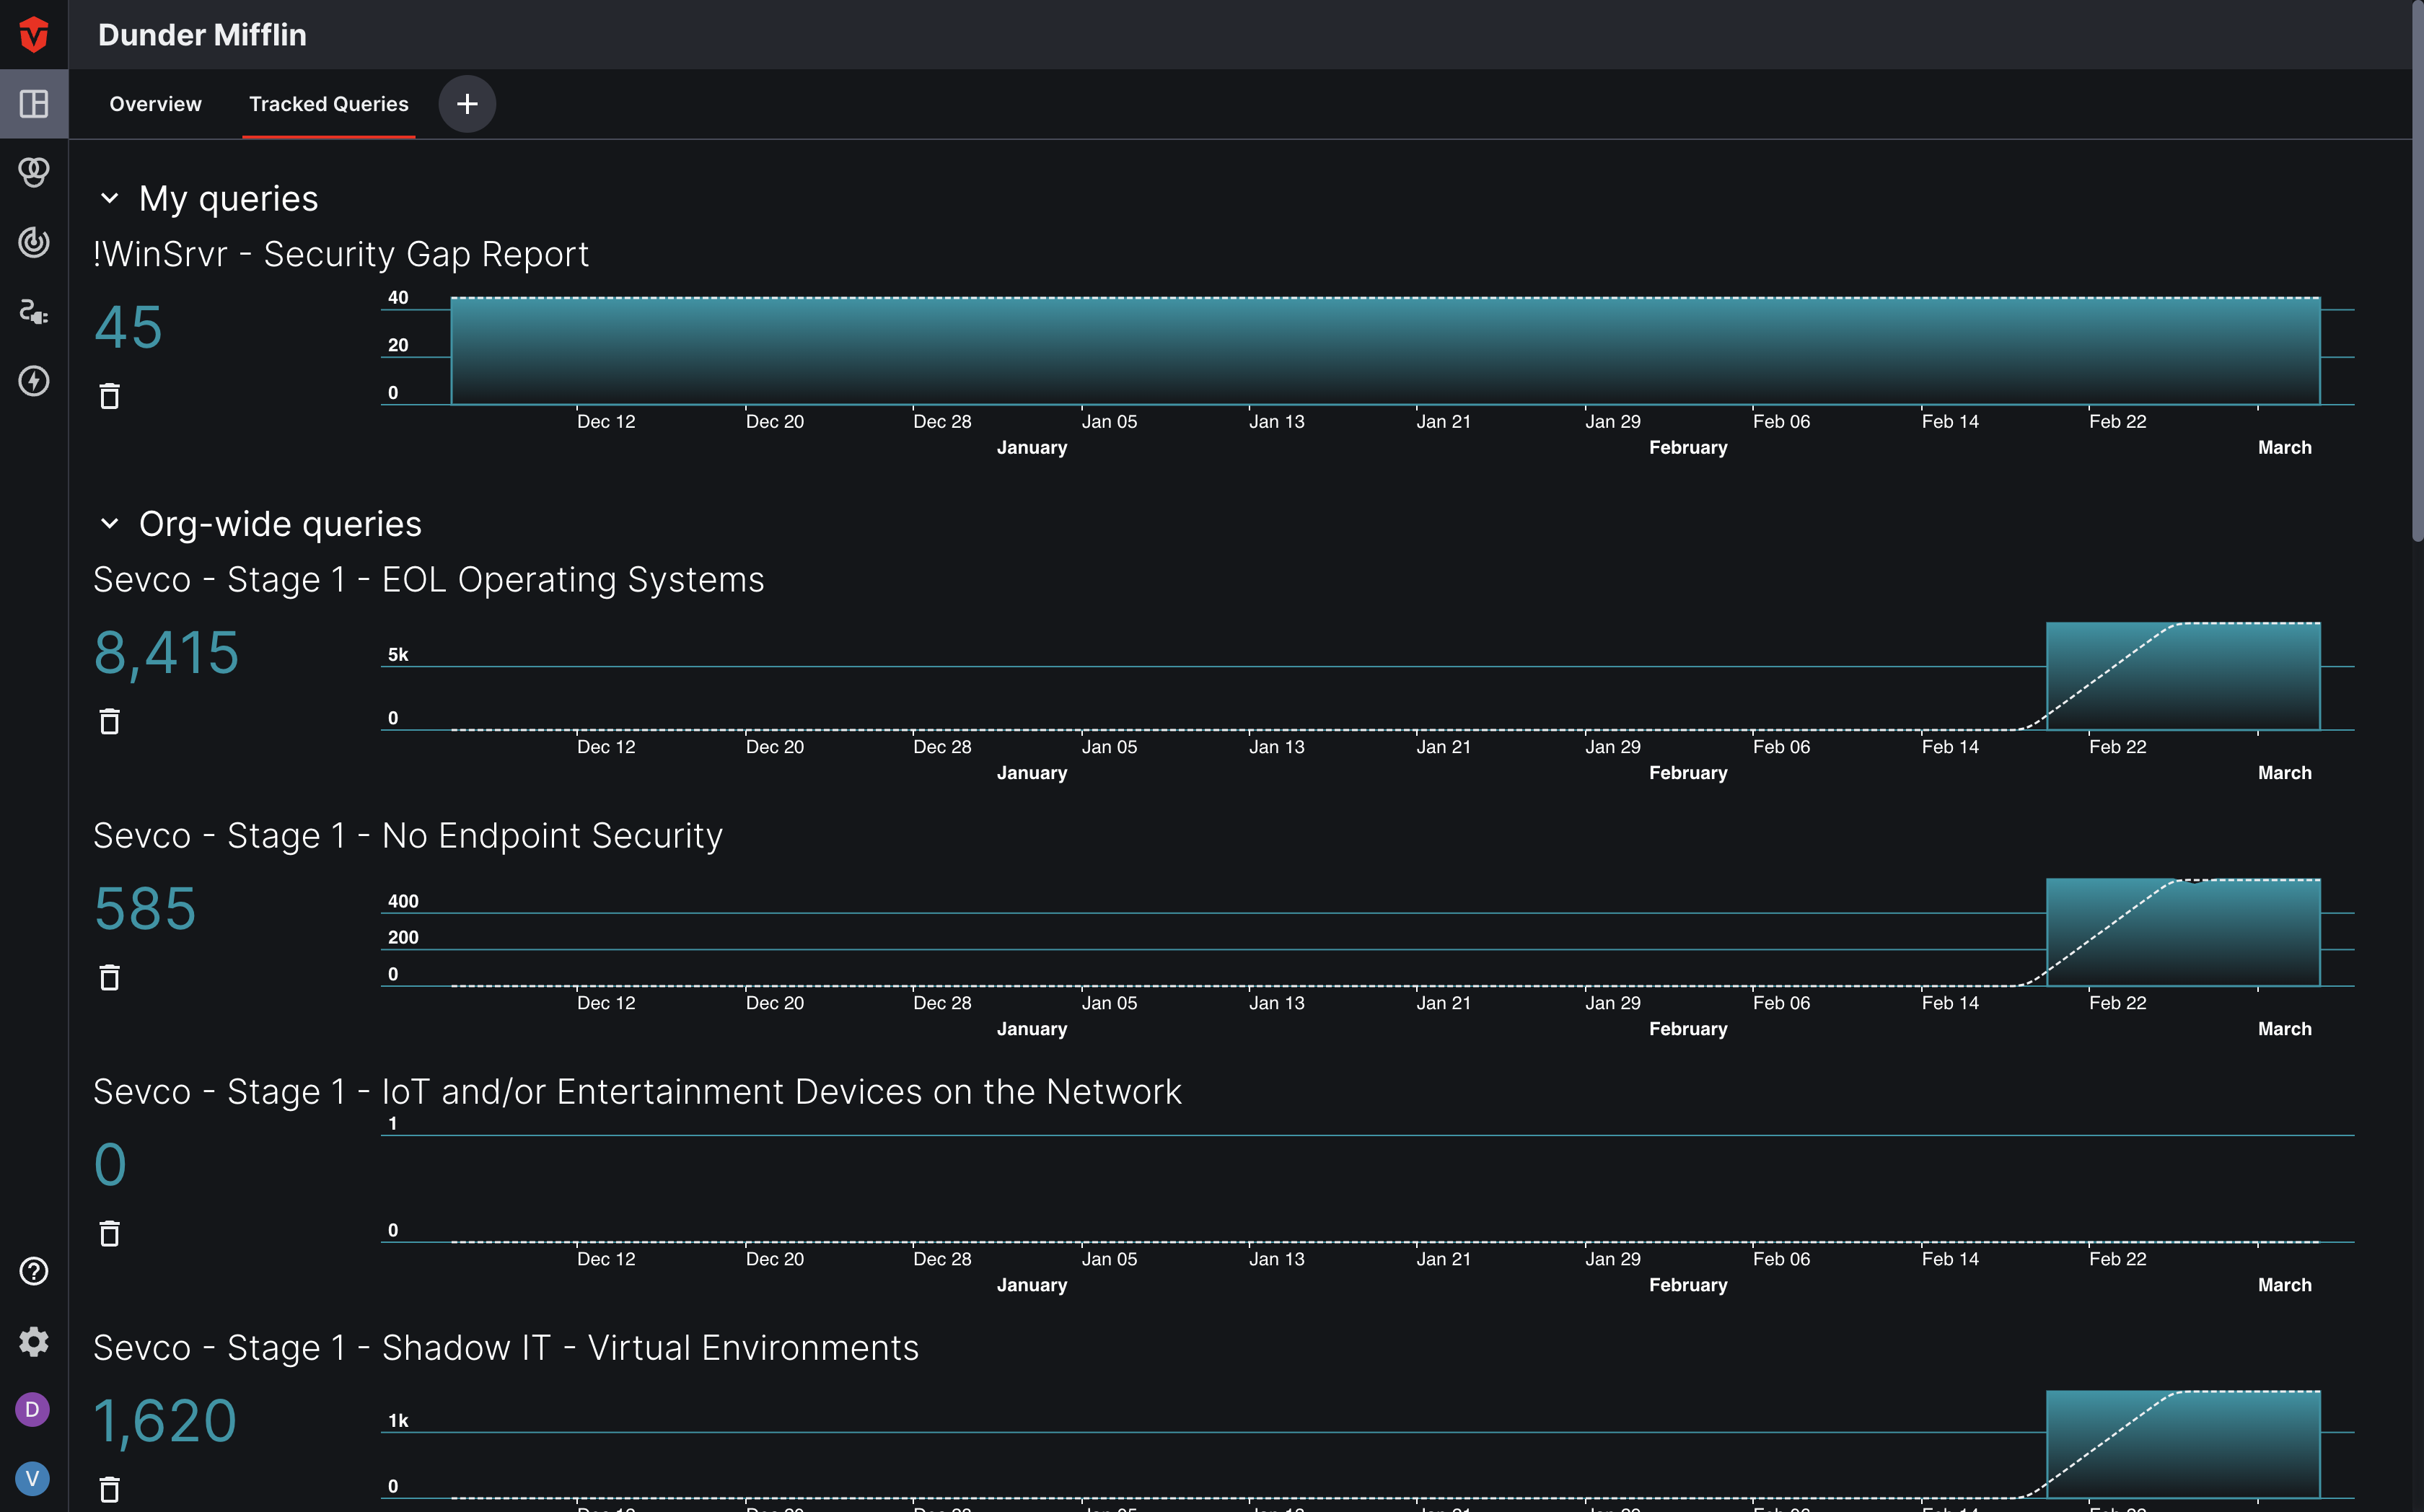
On the left, you can find the total number of assets currently associated with a query. The timeline on the right provides insight into asset totals from previous days. Hover over a query's timeline to view asset totals for a specific day.
To add a custom query to this page, you will need to save it and set up actions for it in one of the Live Inventory pages. Please review the instructions in the following section of this document for completing this process.
Adding a Query to the Tracked Queries Page
Note: Queries saved on the Vulnerabilities Live Inventory page will have both Distinct Live Vulnerabilities and Live Vulnerability Instances tracked on the Tracked Queries page, resulting in two separate query graphs being displayed.
To begin adding a query to the My Queries or Org-wide Queries sections of the Tracked Queries page, you will need to build a query in one of the Live Inventory pages.
Saving a Query
Once your query has been built, you can save it by selecting the Save Query button in the top-right corner of the query builder to add it to the My Queries or Org-wide Queries tab.
- Queries saved to the My Queries list are only viewable to you.
- Queries saved to the Org-wide Queries list are viewable to all members in your Organization.
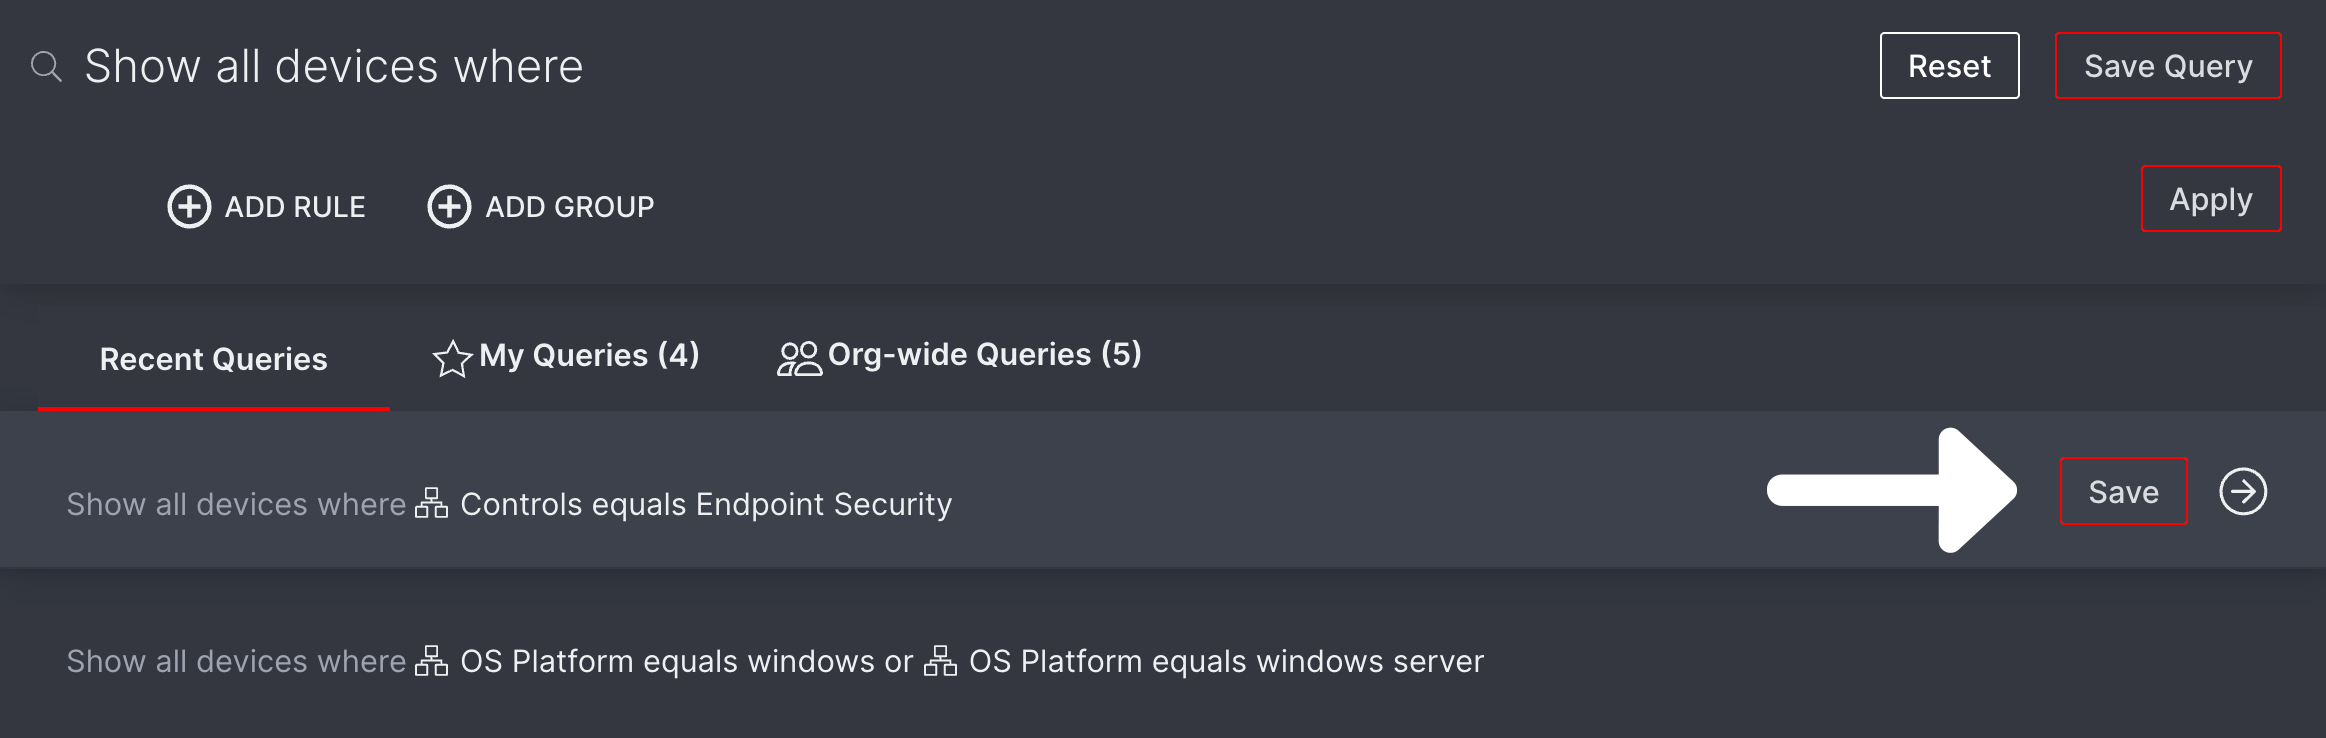
If you've already run your query, you can save it from the Recent Queries tab. Hover over the query you'd like to save and select the Save button to add it.
Configuring Query Actions
Once your query has been saved, you will need to configure actions for it.
From its corresponding tab, select the Actions link that corresponds to the query you would like to begin tracking.
A popup will appear. Select the Track query results checkbox.
Once you've selected the checkbox, a "Saved query action successfully created" message will appear at the top of the screen to confirm that your query has been added to the Tracked Queries page.

From here, you can return to the Tracked Queries page and verify that the query has been added.
Note: After a query has been added to the Tracked Queries page, it can take up to 24hrs for data to begin populating.
Removing a Query from the Tracked Queries Page
Note: Distinct Live Vulnerability and Live Vulnerability Instance graphs associated with the same query are coupled and can not be removed separately.
To delete a query from the Tracked Queries page, simply select the delete icon ( ) underneath the query's name.
Alternatively, you may also remove it in the Query Builder by opening the query's Actions menu and unchecking the Track query results checkbox.
Updated 3 months ago