Adding an Integration
Overview
In this article, we will review how to add data Integrations to your Aurora ASM organization. Please note that Integrations can only be added by Admin accounts. If your account is Read Only, you will need to contact an Admin and have them configure the Integration(s) for you.
Integration Types
Depending on the actions performed by an Integration, it may include one or more of the following integration types:
- Sources – The Source integration type imports asset data from an external platform into Aurora ASM
- Inventory Sync – The Inventory Sync integration type exports asset data from Aurora ASM to an external platform
Adding an Integration
Please review the following instructions for adding an Integration to your Aurora ASM Organization.
Accessing the Integrations Page
After you have logged into my.sev.co, you can access the Integrations page from the Admin menu. Select the Admin icon ( ) on the Navigation bar then select the Integrations link from the dropdown menu.
Searching for an Integration
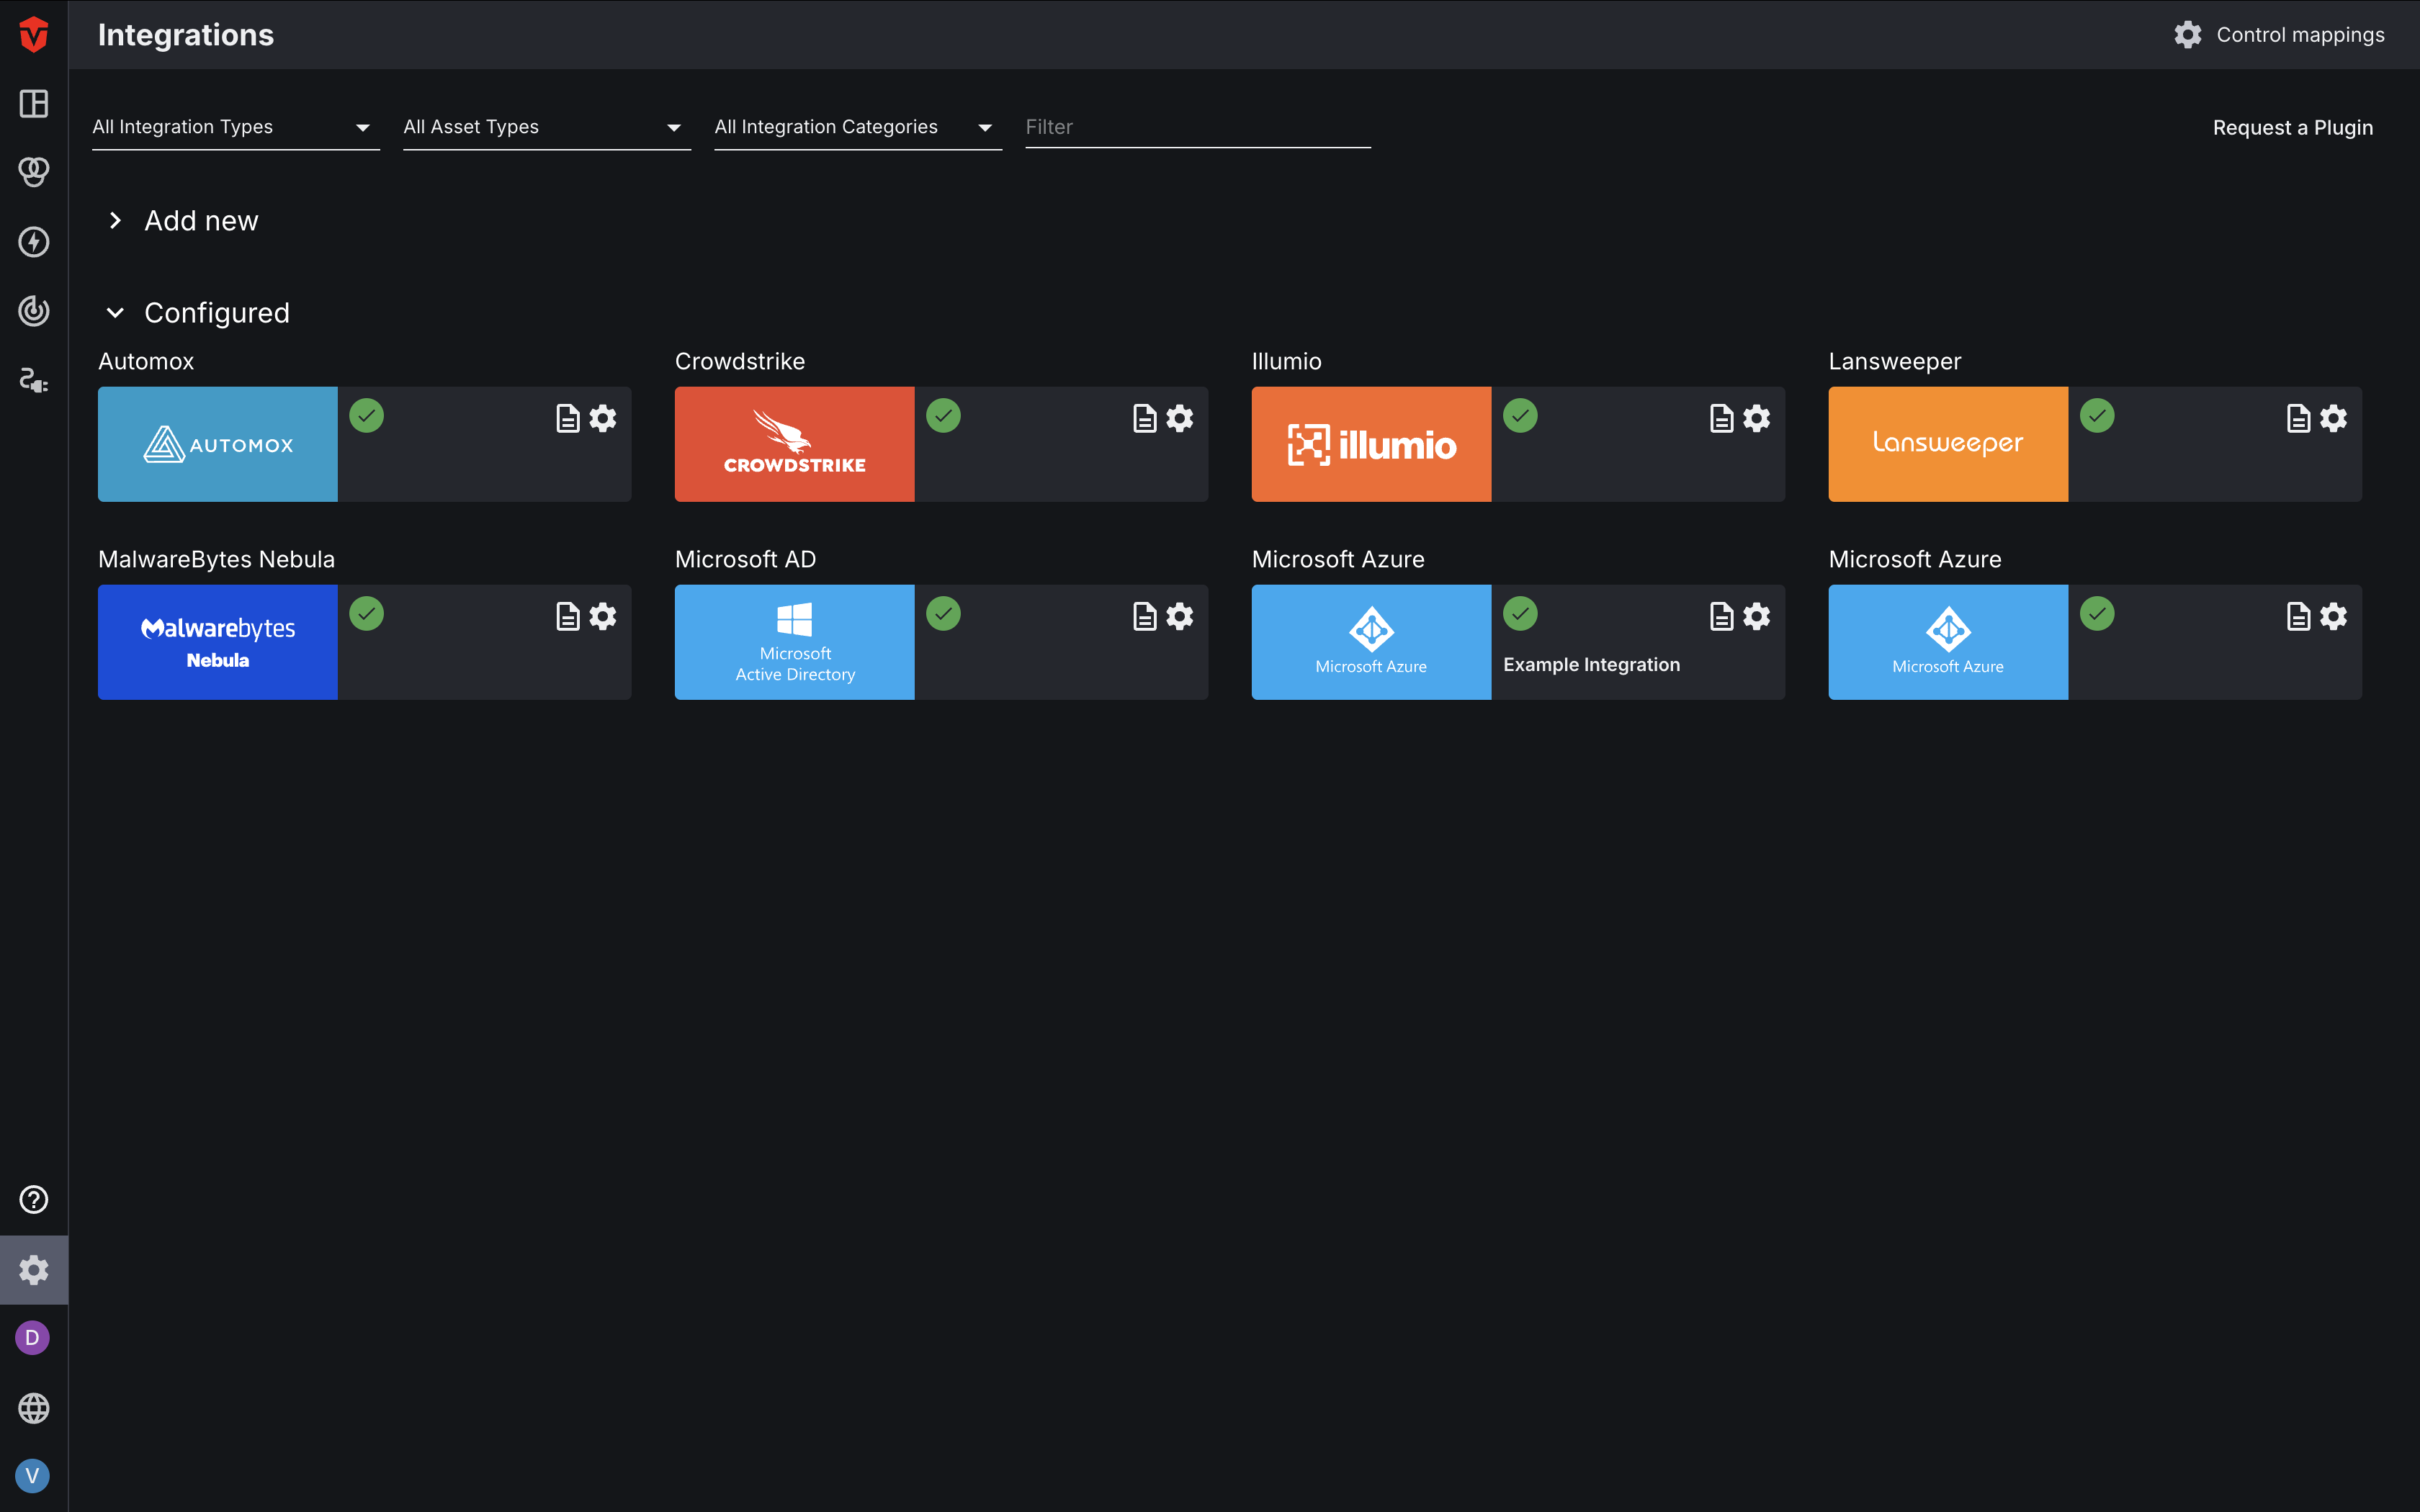
Once you are on the Integrations page, you can access a list of all Integrations currently supported by the Aurora ASM platform by selecting the Add new button at the top-left corner of the page.
There are three search filters at the top of the page that allow you to filter the Integrations list by integration type, supported asset type, and integration category.
When searching for a specific Integration, we recommend selecting its integration category from the All Integration Categories dropdown to narrow down the Integrations list before using the search bar to find it.
You can use a combination of search filters for more generalized searches. For example: to view Identity Access Management Integrations that support User asset types, you would need to use the Asset Types and Integrations Categories filters to only show Integrations that satisfy those conditions.

Configuring an Integration
Integration-specific documentation can be found under the AURORA ASM INTEGRATIONS category of this documentation site.
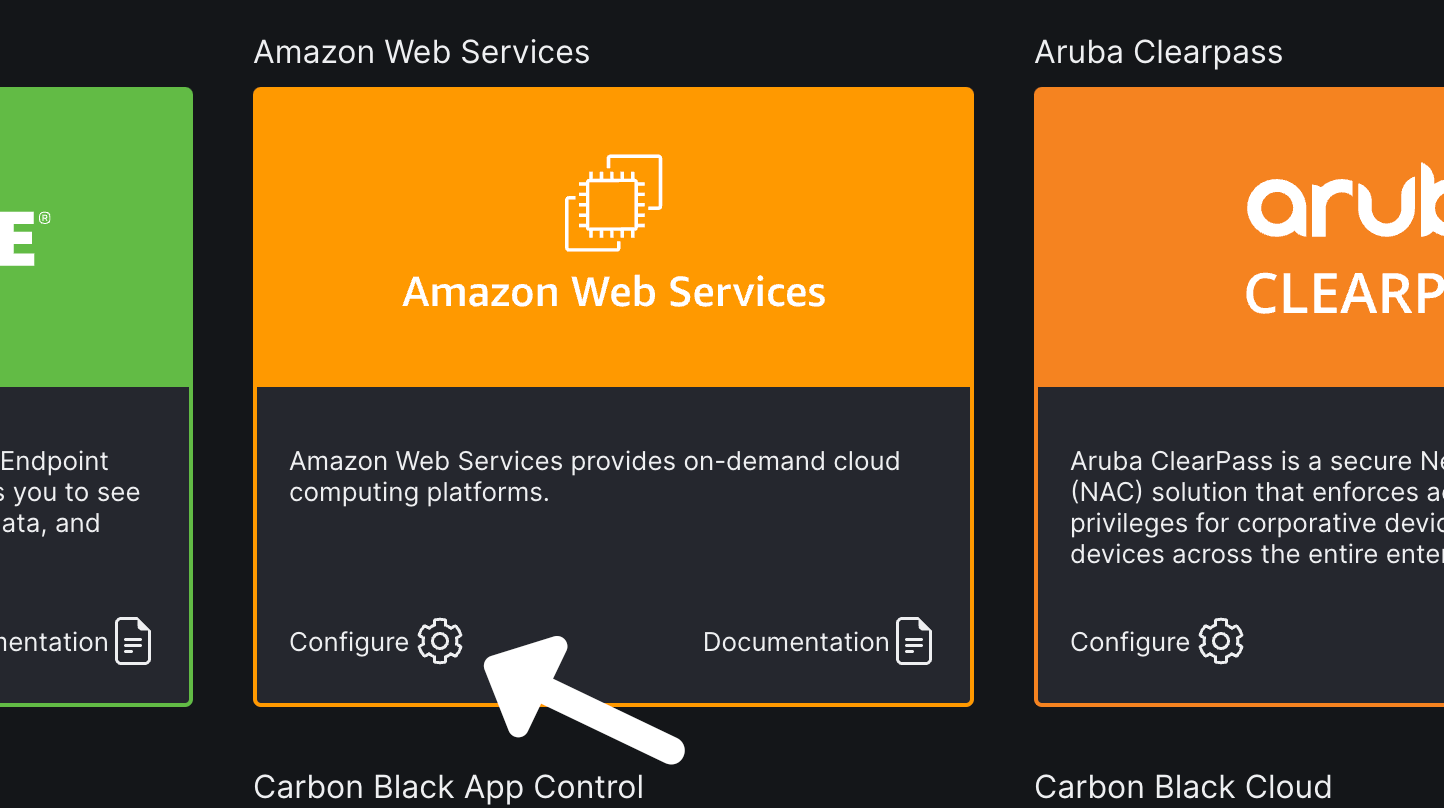
Once you have found your Integration, you will need to configure it. Please review the following instructions for completing this process.
Select the Configure icon that corresponds with the Integration you would like to configure. A popup will appear.
Aurora ASM now uses Static IP Addresses for its integration cloud runners. You may need to whitelist these IP addresses, depending on your organization's security practices. Contact our support team at [email protected] to access this information.
Choose the Schema you would like to use to authenticate your Integration from the Choose a schema dropdown and enter any required information into the provided fields.
If you would like to assign a Runner to your Integration, click Show advanced configuration options and select it from the Runner dropdown. Select the Next button to continue.
Note: Software and Vulnerability integrations must be configured in the same Source Configuration as your Device integration for data to appear on the Software and Vulnerability Inventory pages.
The Integrations section is where you specify what integration and asset type(s) you would like to include in your configuration. Options in this section will vary from Integration to Integration. Once you have completed your selections and any additional requirements, select the Next button.
The General section is optional. If you would like, you may Name your Integration (i.e. EC2 US-east-1), specify a Contact Person, provide a link to your Console, and set up Error email notifications. Please note that for security purposes, console links will only be displayed as static text in your Integration's Configuration Settings.
Once you have finished, verify that the information you have entered is correct, then click the Activate button.
A green Integration successfully configured message will appear at the top of the screen, indicating that your configuration has been set up.

Modifying an Existing Integration
After an Integration has been added, you may wish to make changes to its configuration.
To begin, select its Configure icon () to open its configuration panel. Next, click the Edit configuration button.
From here, you can make changes to the configuration such as:
- Updating its General information
- Modifying the parameters of an existing Source
- Adding additional asset types for collection
Once you have finished updating the configuration, remember to select the Save changes button.
Deleting and Disabling Integrations
Integrations can also be Disabled or Deleted from the configuration panel. This includes Platform Integrations as well as individual Source Integrations associated with a Platform Integration.
-
Disabling an Integration stops all communication between an integrated platform and your Organization, while retaining any data that has already been collected. You may also Enable a previously disabled Integration to resume data syncing.
-
Deleting an Integration stops all communication between an integrated platform and your Organization and also erases all collected data from your environment. This action is permanent and cannot be undone.
Platform Integrations
Integrations can be disabled or deleted at the platform-level, using the Disable and Delete buttons at the bottom-right corner of the Configuration panel.
Source Integrations
To disable an individual Source Integration, select its corresponding Disable toggle. Next, select its Delete icon ( ) to remove it and all collected data associated with it from your environment.
Once you've finished, select the Save changes button to apply your changes.
Adding Essential Integrations From the Dashboard
We encourage you to configure Integrations from as many categories as possible for a complete view of your company's assets. But to start off, we recommend configuring at least one Integration from each of the following categories:
- Identity Access Management
- Endpoint Protection
- Network or Cloud Management
For ease of use, the Aurora ASM platform allows you to configure Integrations from each of these categories directly from the Dashboard by redirecting you to the Integrations page and showing you integrations in your selected category.
Once your Integration has been configured, you will be redirected to the Integrations page. If the configuration was successful, an Active banner ( ) will display in the bottom-left corner of its configuration tile.
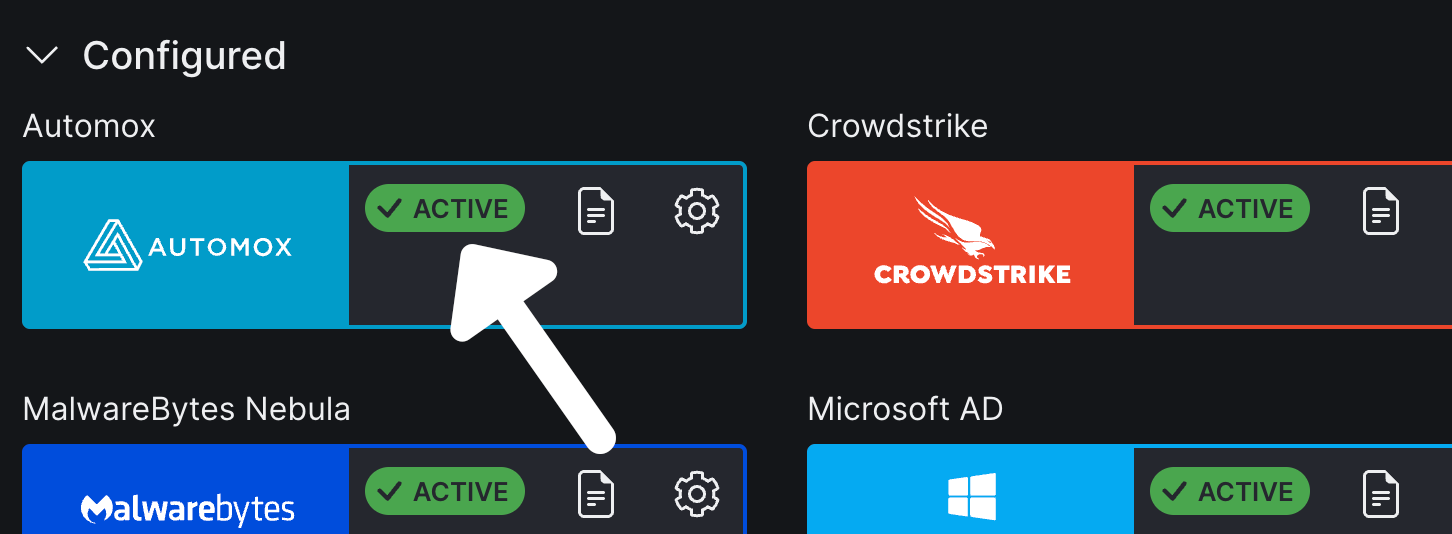
Once an Integration has been added from a category, a green Success checkmark ( ) will appear next to it to indicate that the Integration has been connected successfully. You may continue adding Integrations from the remaining categories.

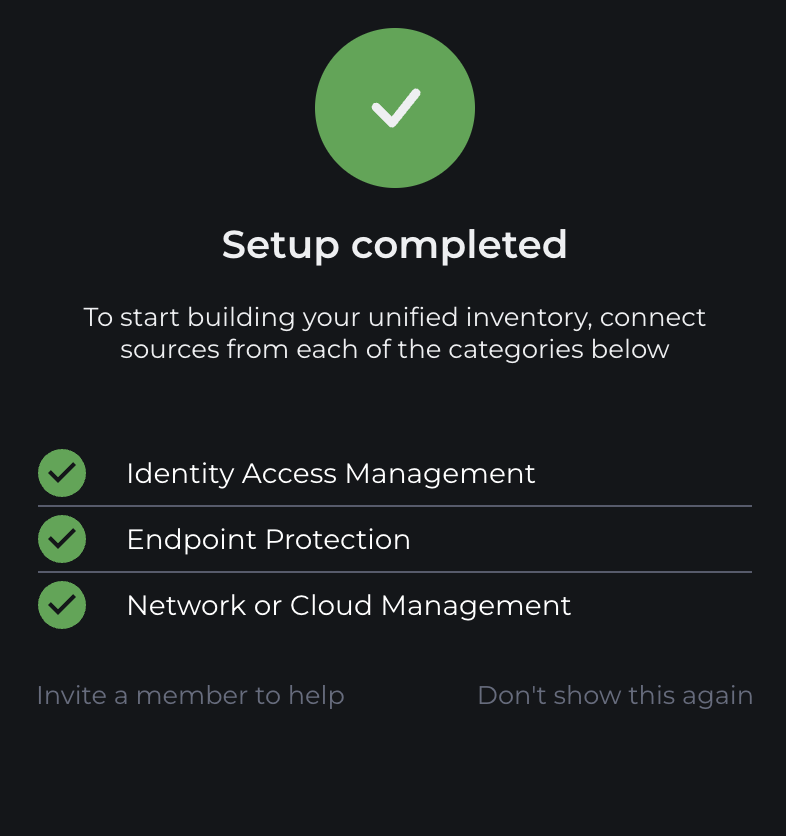
When you have configured an Integration from each of the three categories, a Setup completed message will appear, indicating that you have completed the minimum setup requirements.
Updated 3 months ago