Setting Up Multi-Factor Authentication
Overview
Multi-Factor Authentication (MFA) provides an additional layer of security by generating a one-time code that users must enter during sign in. When you are prompted to set up MFA while activating your account, you can do so using any QR-code-based authenticator app (i.e.Google or Microsoft Authenticator).
Setting up MFA for Your Account
The first time you log into Aurora ASM, you will be prompted to set up multi-factor authentication (MFA).

- Scan the QR code with your preferred authenticator app.
- Enter the one time code generated by the authenticator into the provided field.
- Click the Continue button.
Recovery codes are only shown once and must be saved in a secure place!
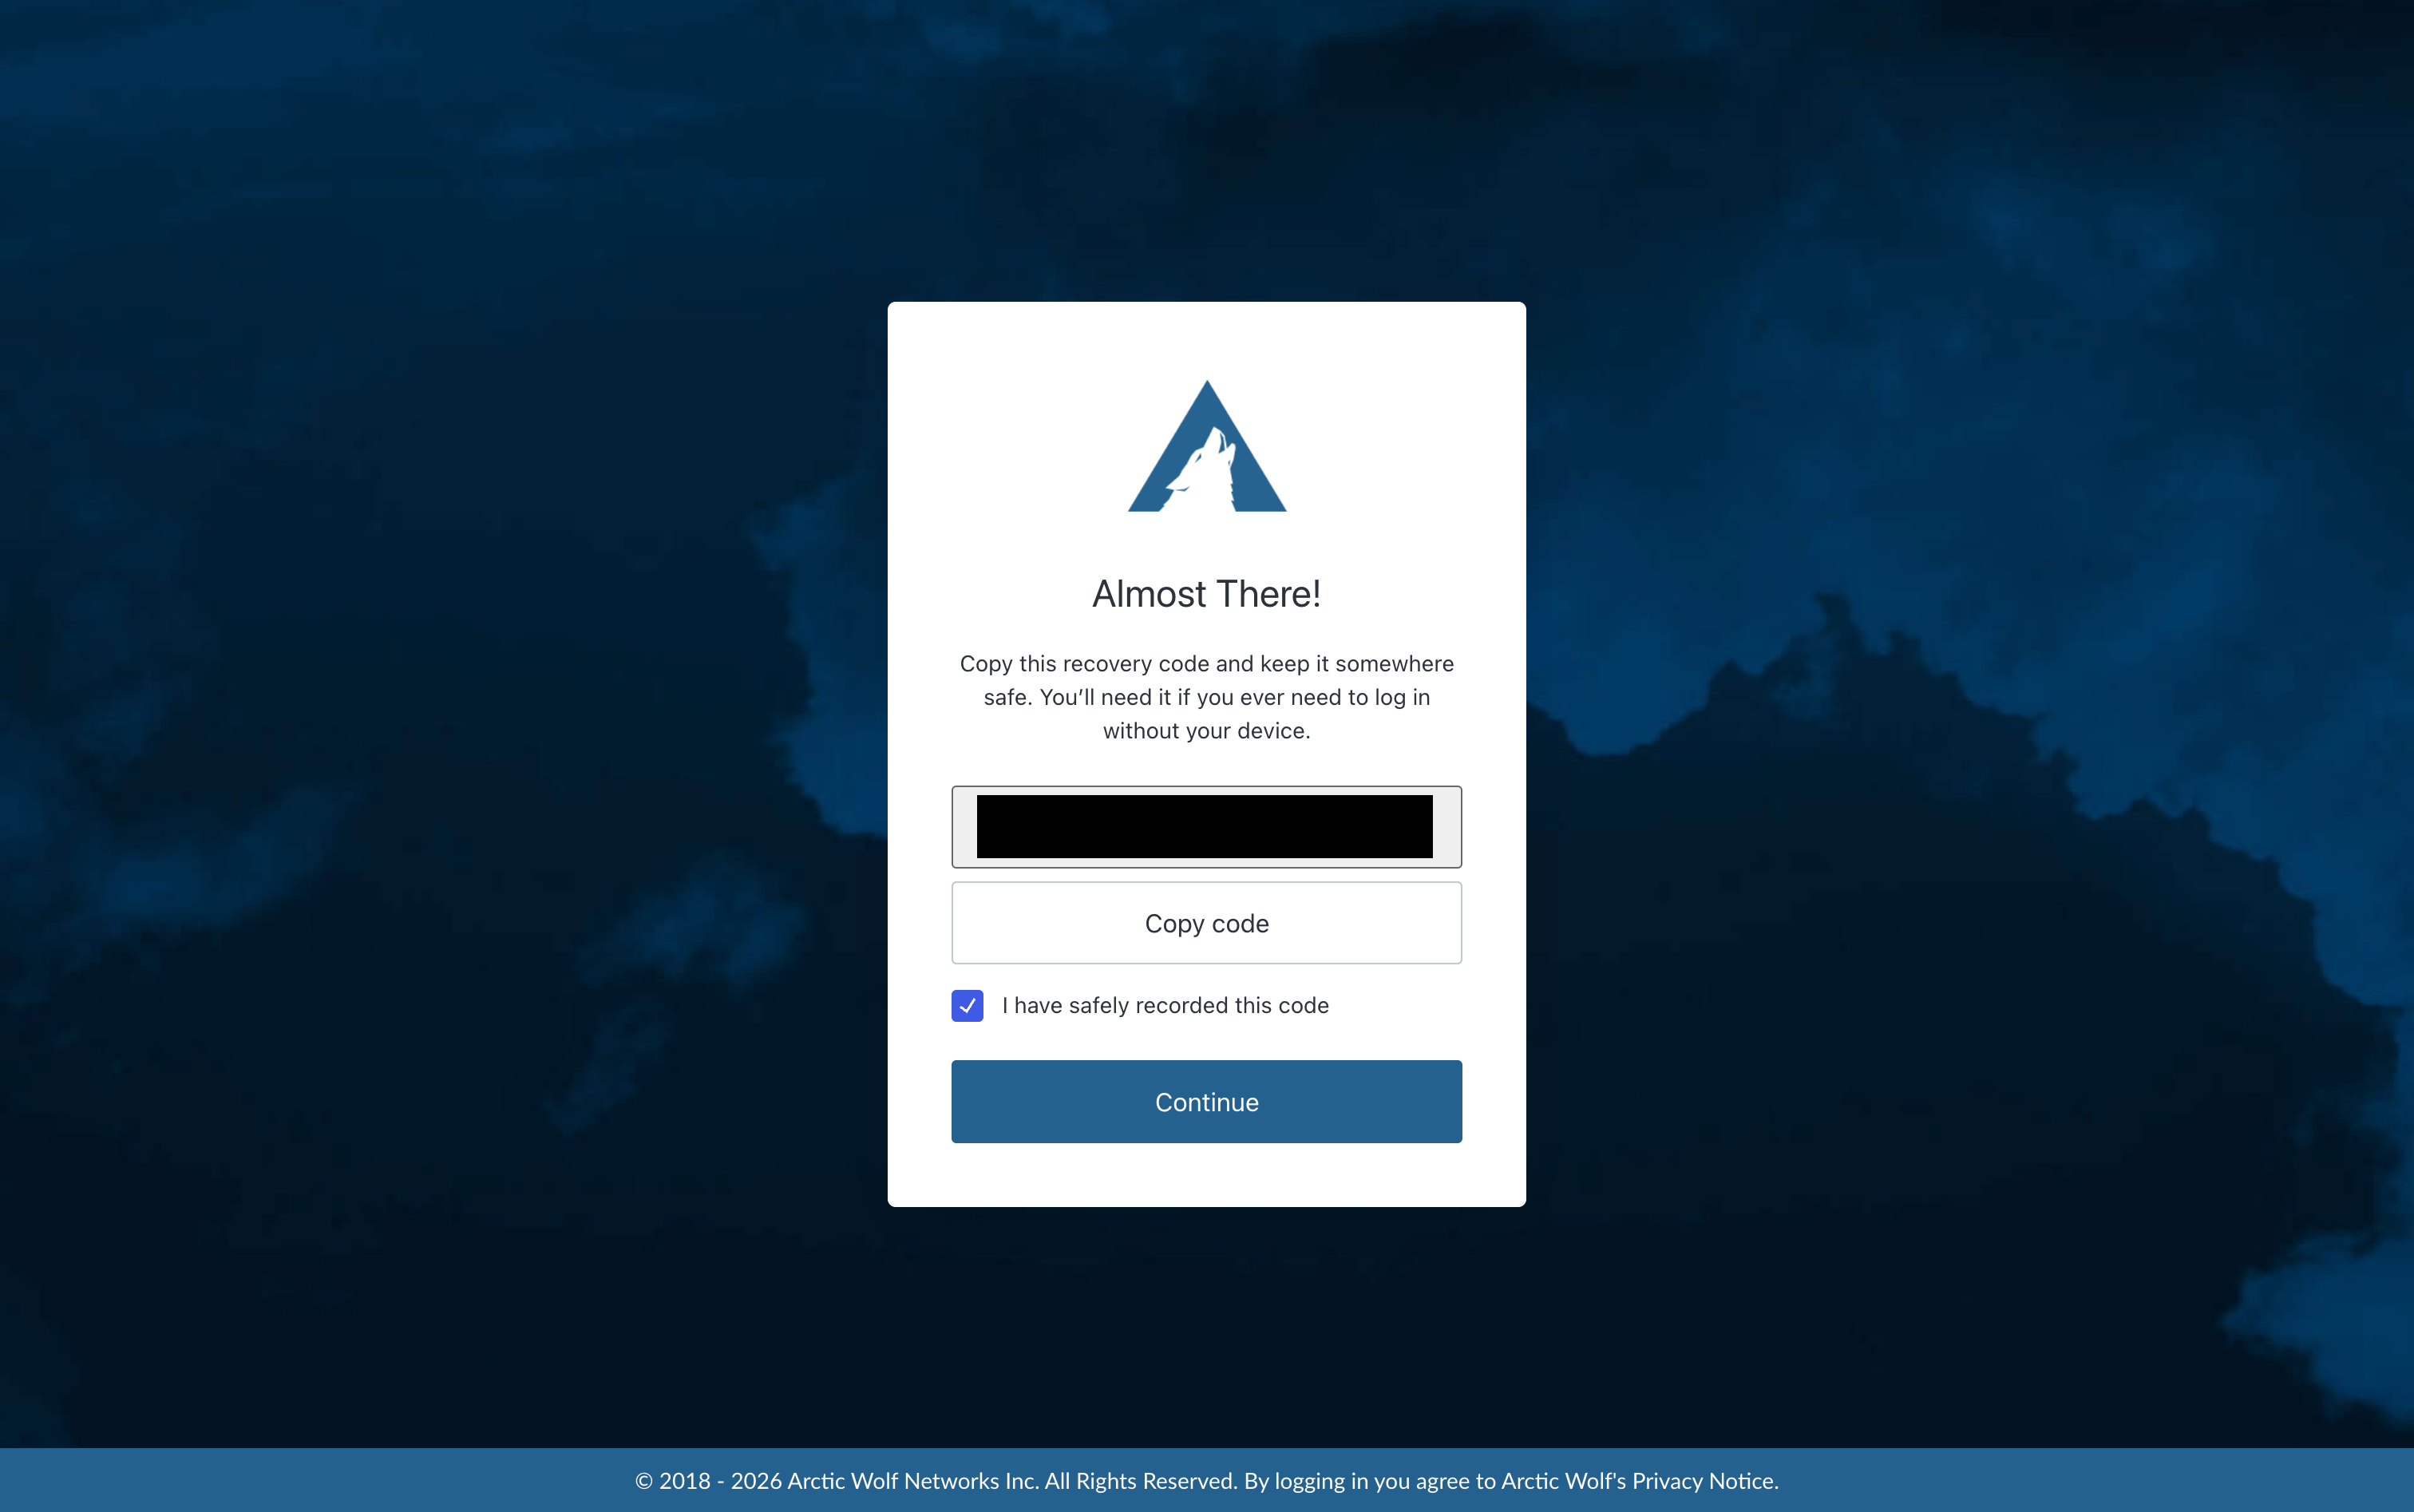
You will be provided with a recovery code that can be used to log into your account in the event that you lose access to your authenticator app.
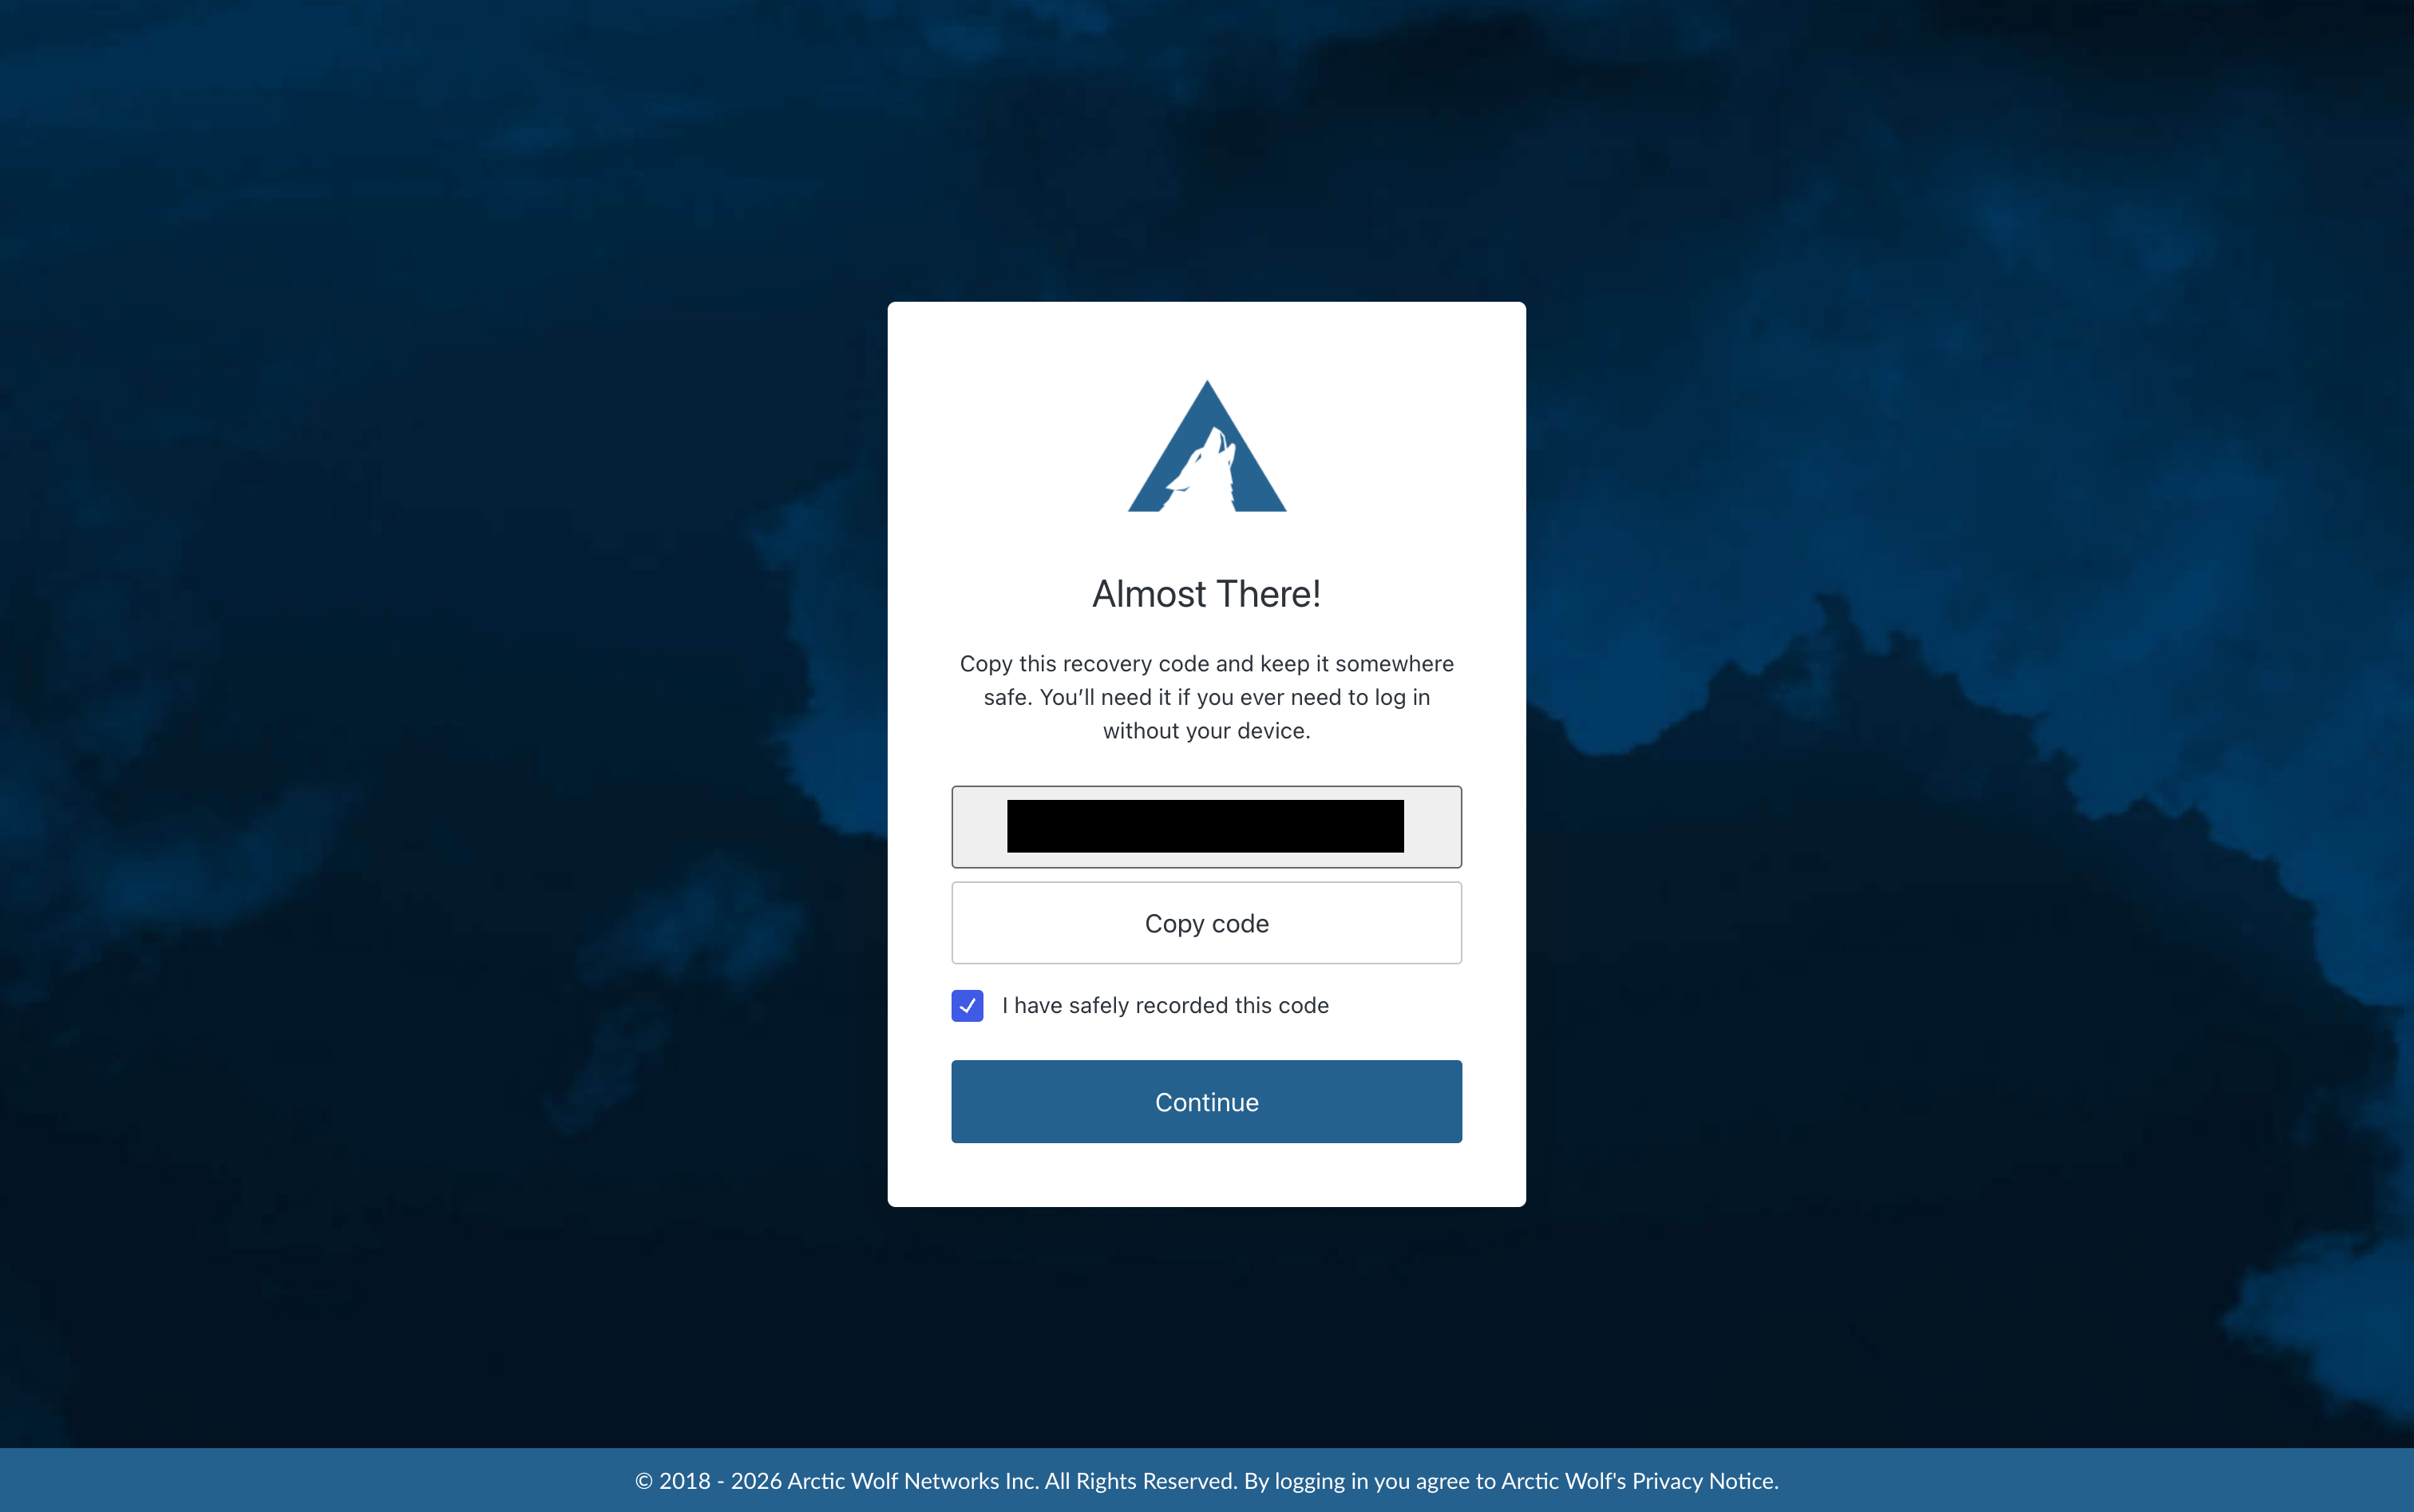
- Select the Copy code button to copy the code to your clipboard.
- Once you've saved your code, check the I have safely recorded this code checkbox.
- Click the Continue button to complete this process.
Lost MFA Login Alternatives
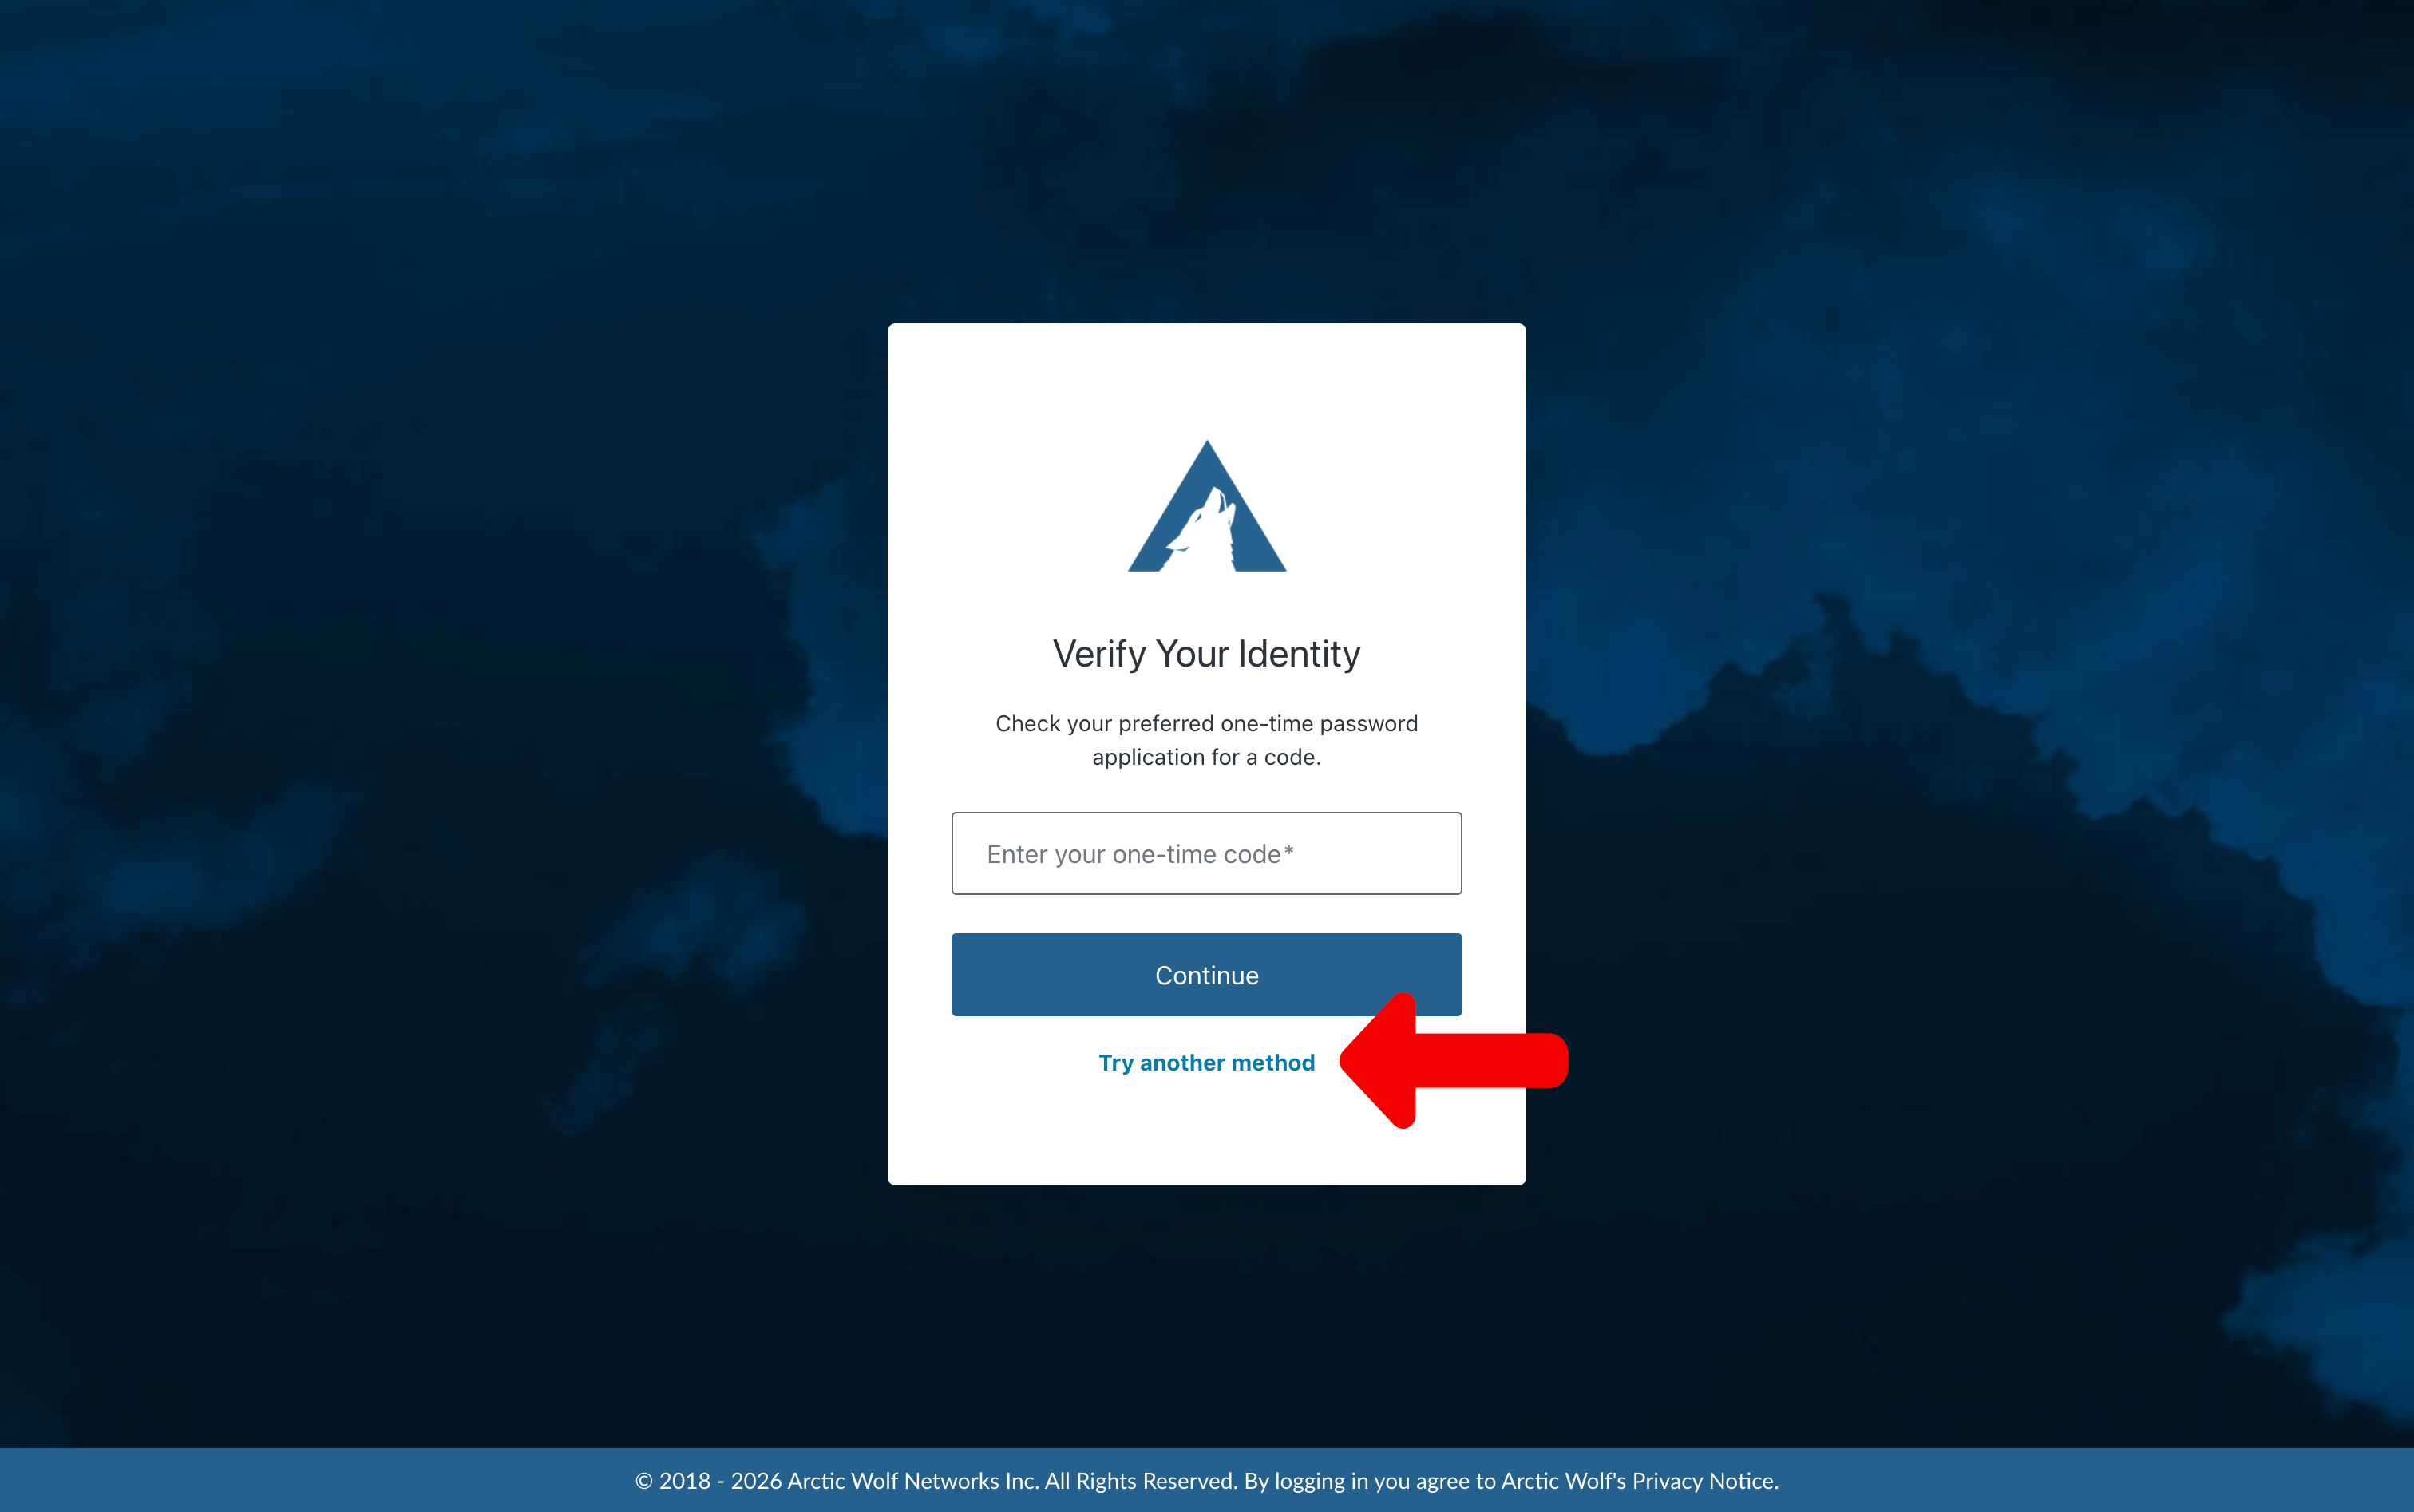
In the event that you have lost access to your MFA authentication app, you may enter your Recovery Code to gain access to your account. You may also use a passkey if it is set up for your account.
From the Verify Your Identity screen, select the Try another method link at the bottom of the Verify Your Identity prompt.
Recovery Code
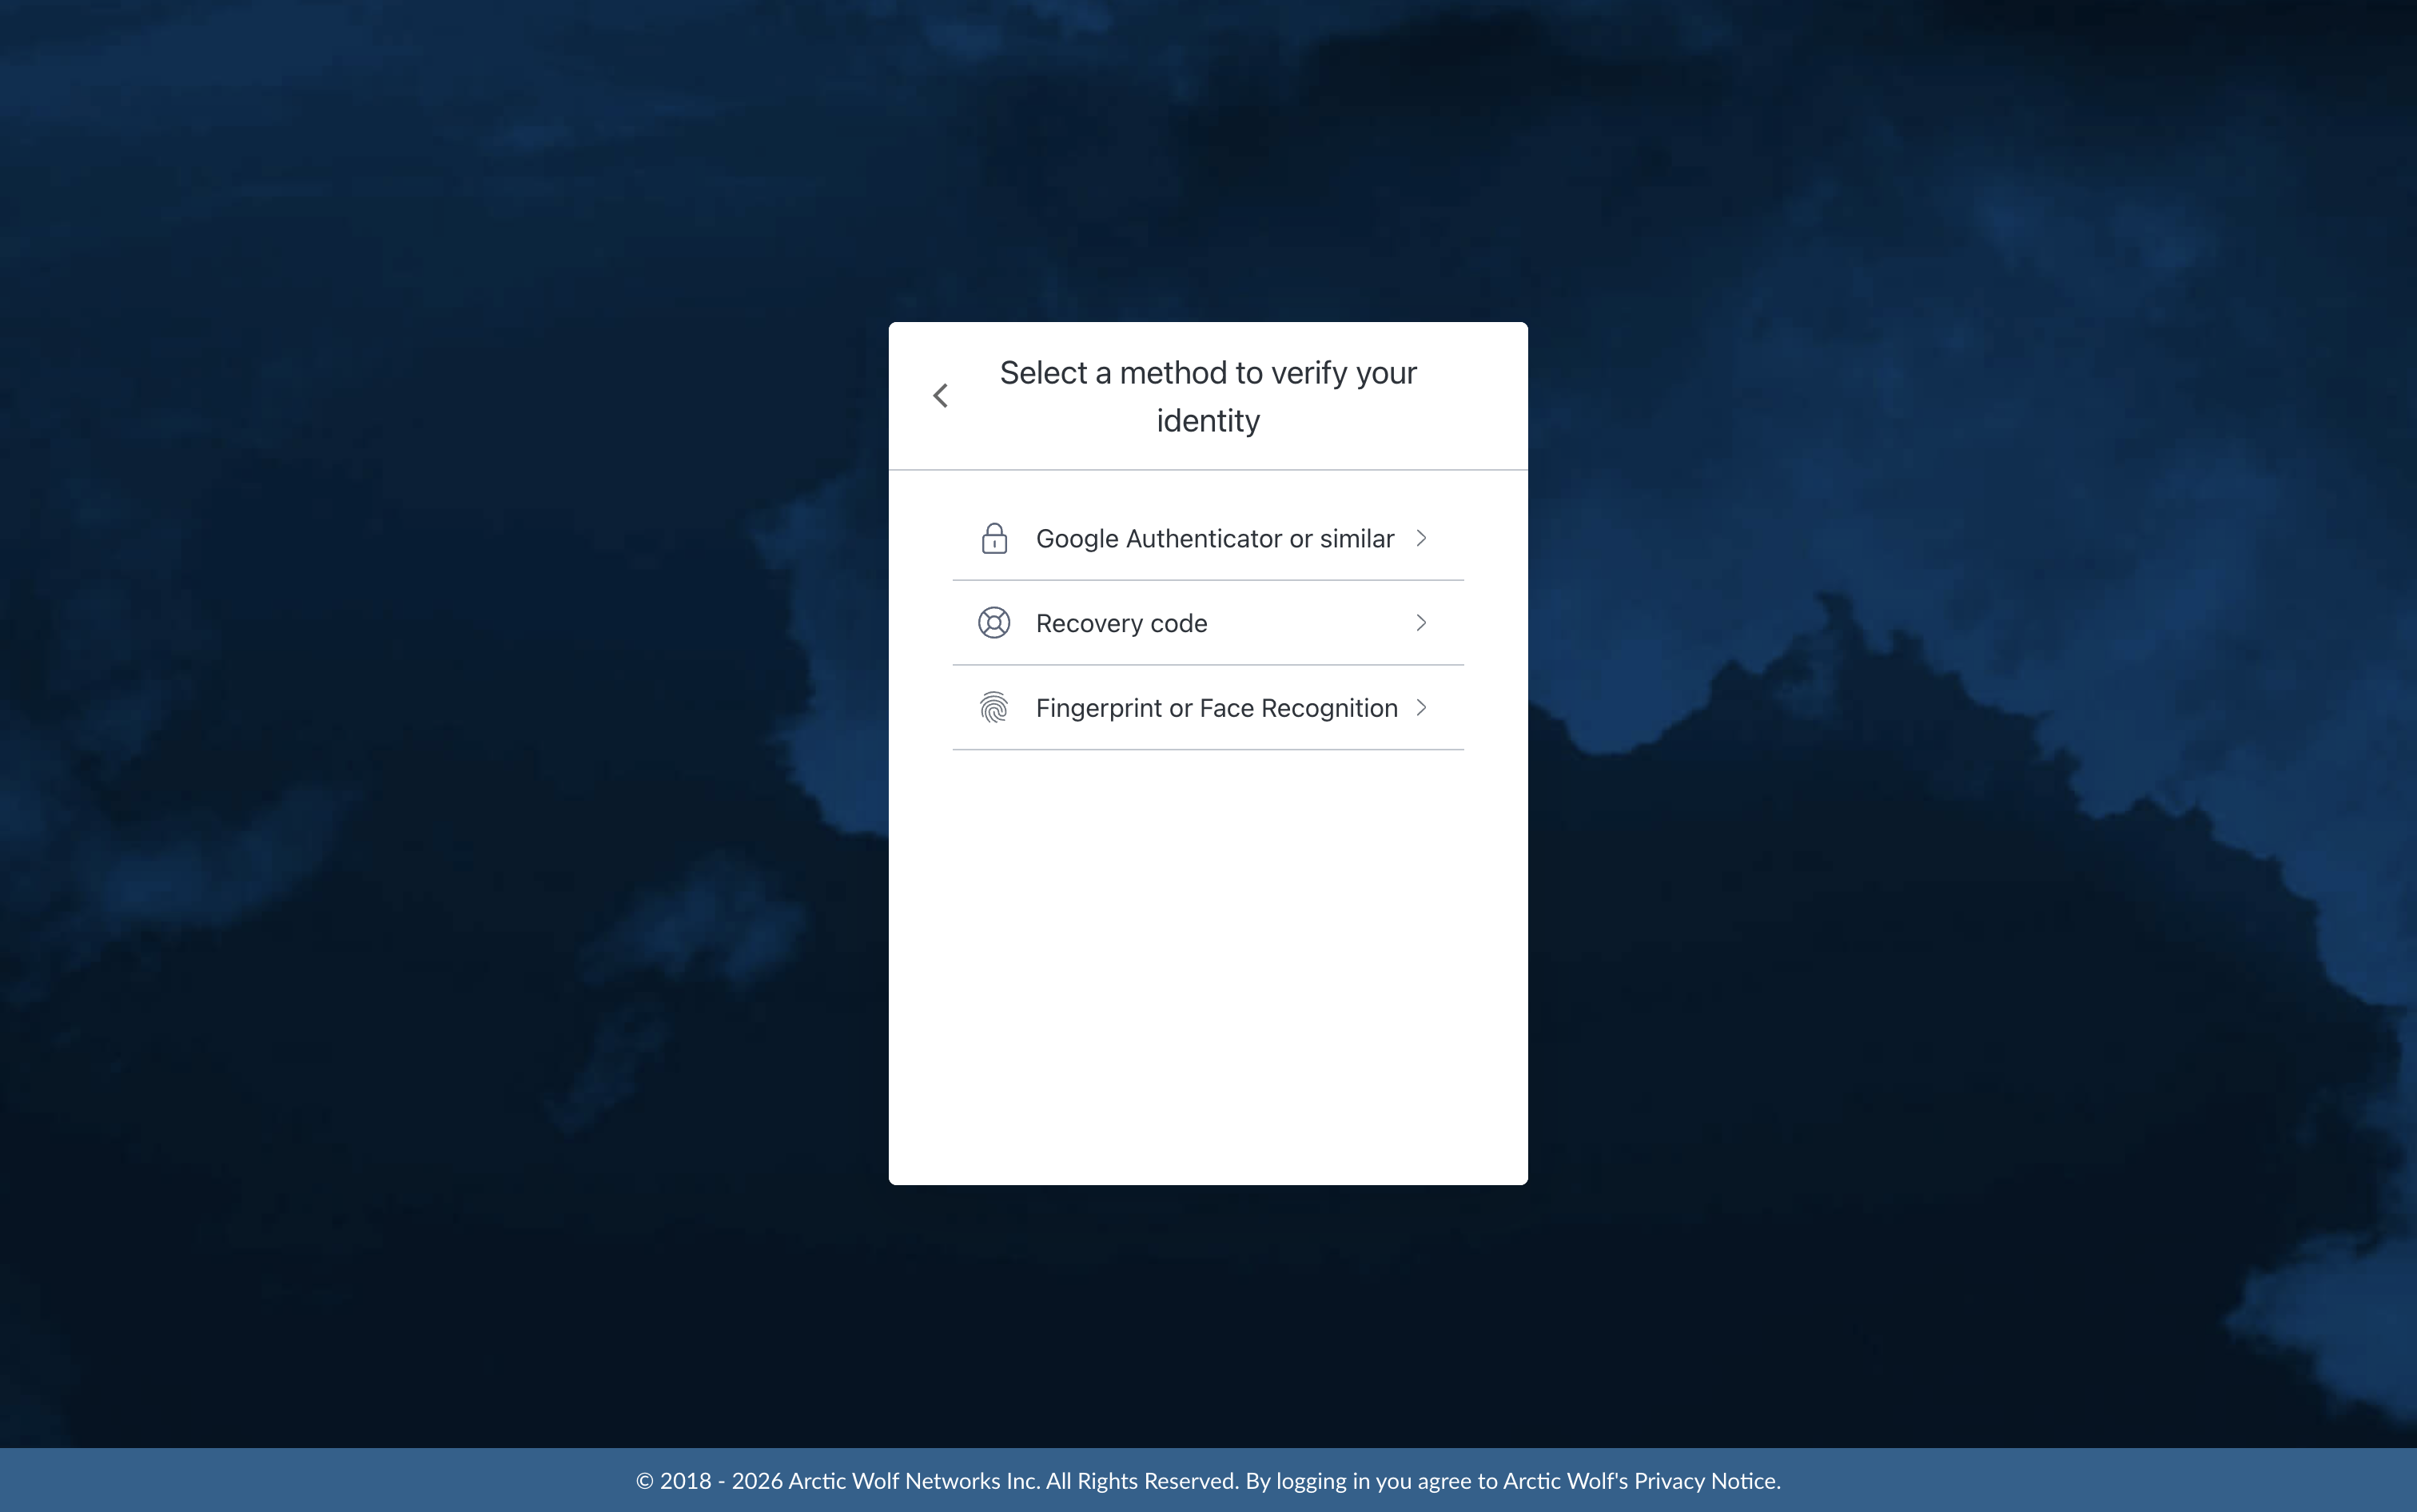
- Select Recovery code option as your identification method.
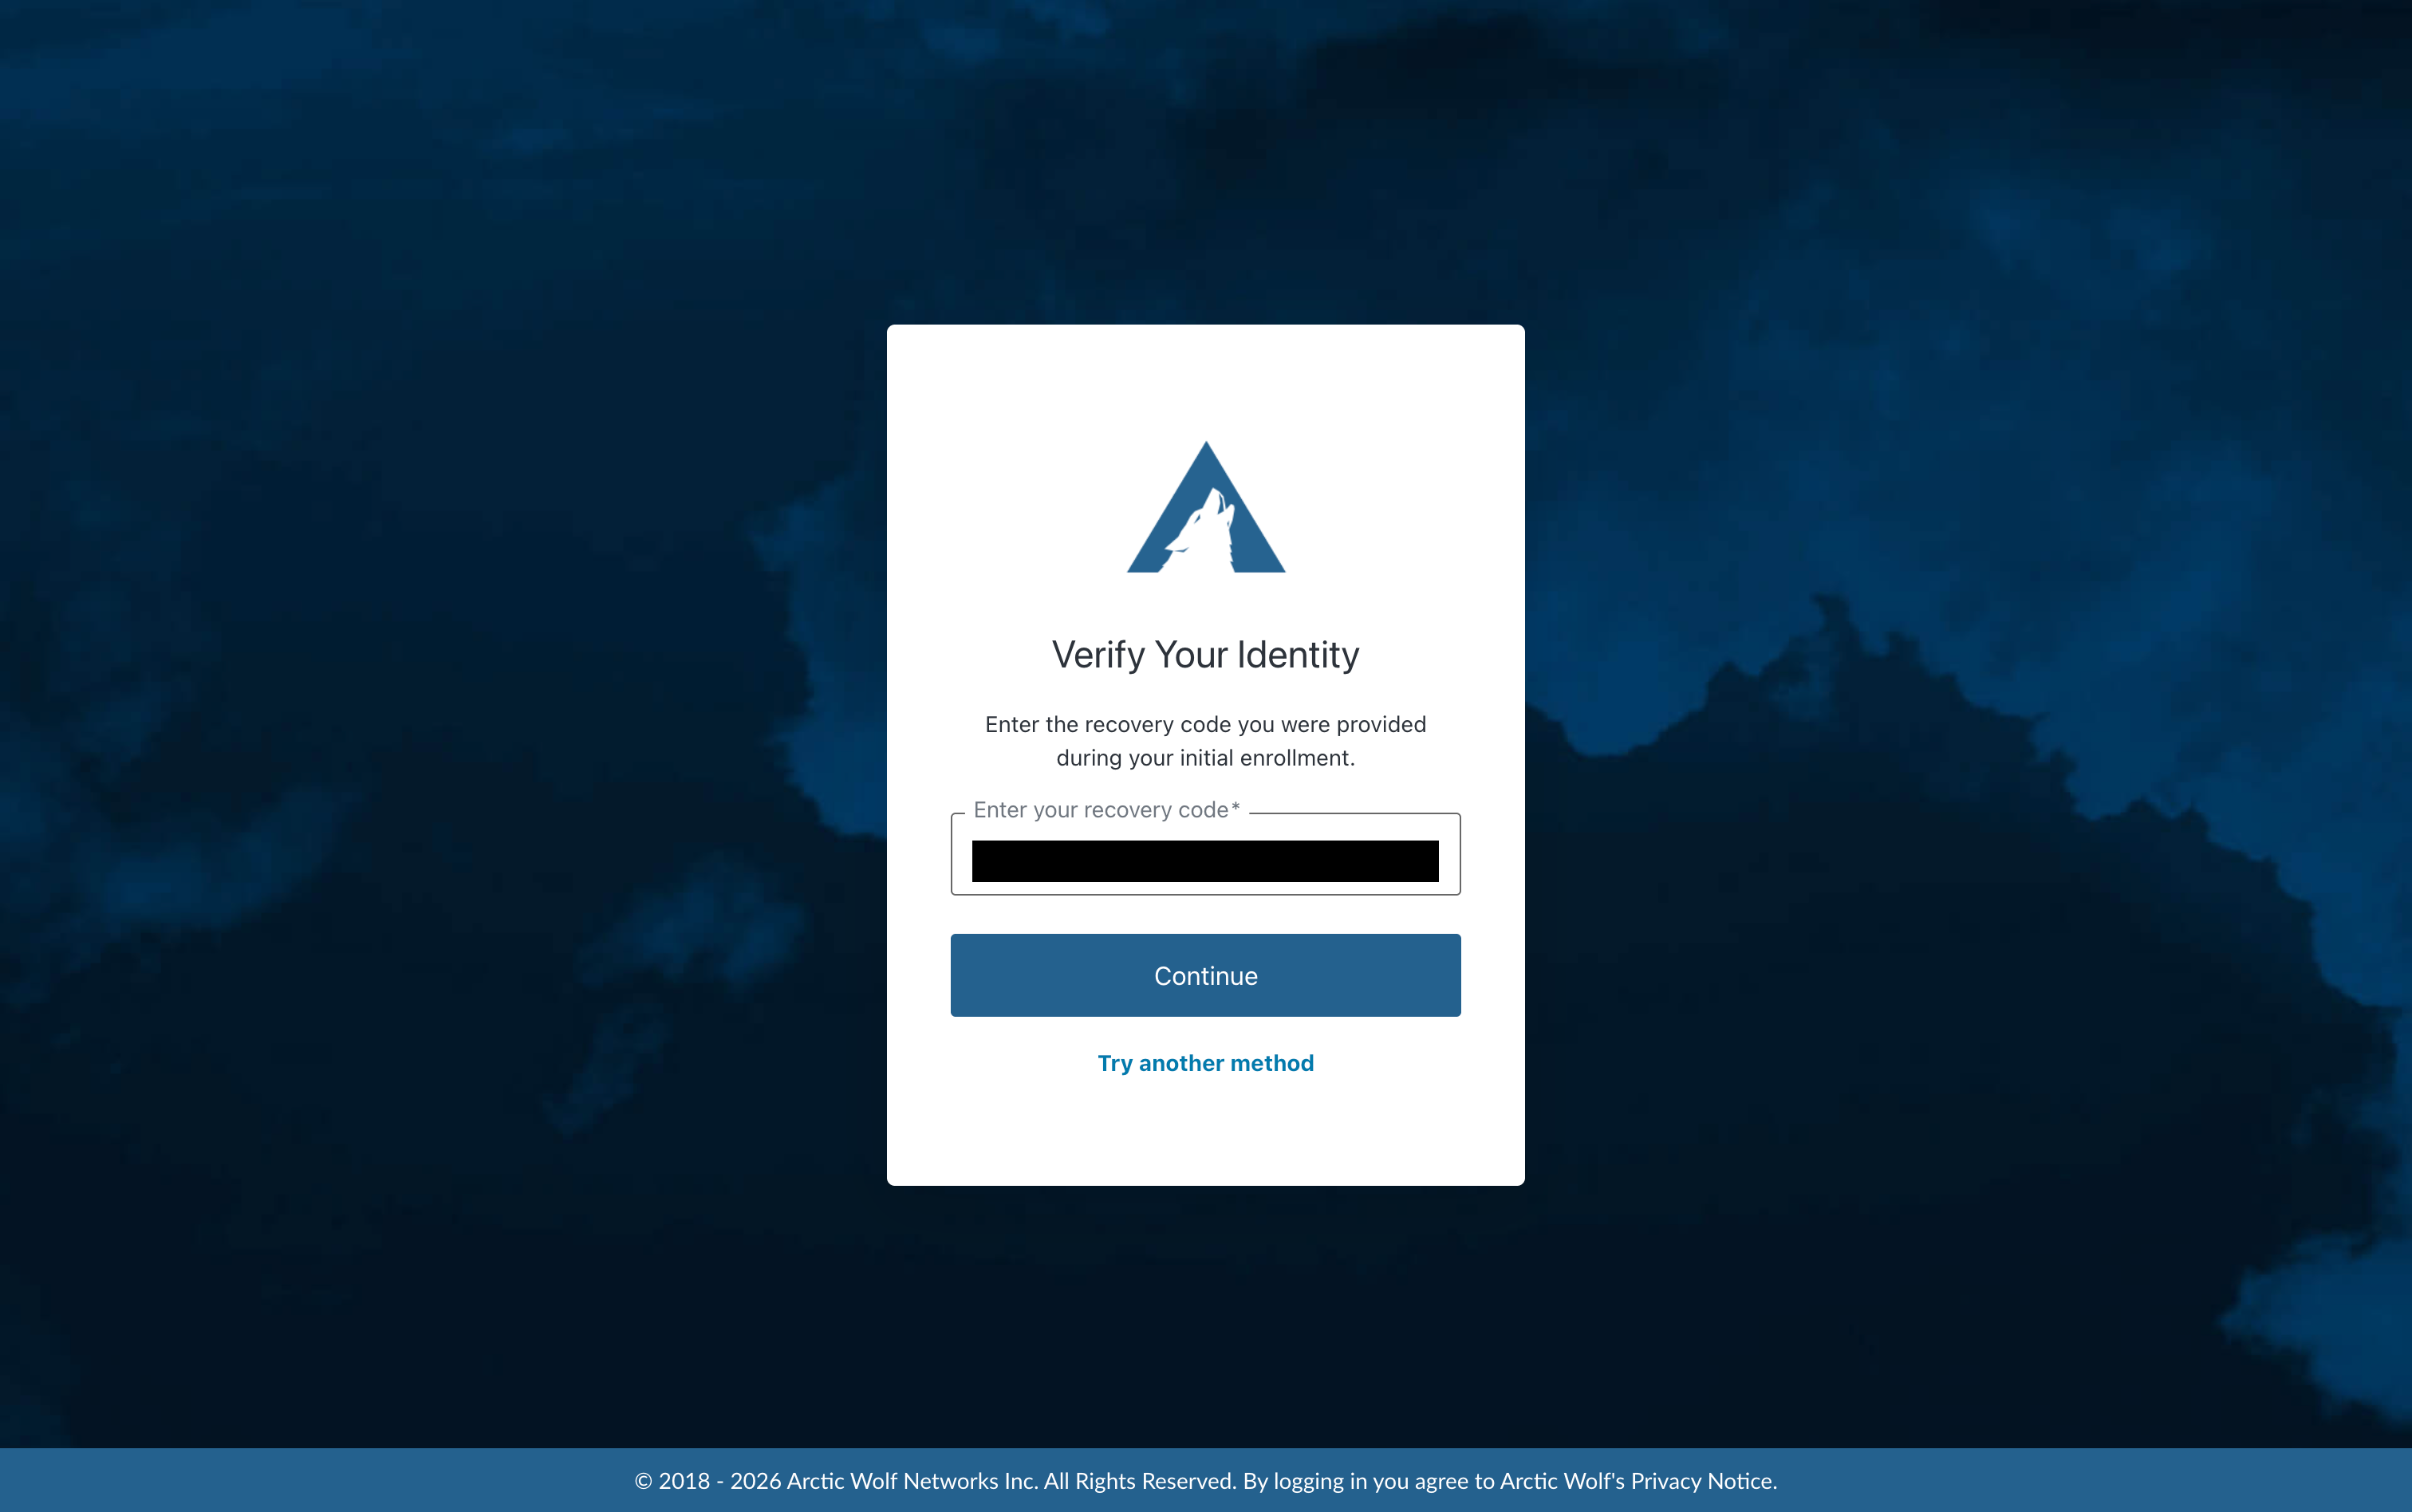
- Paste your Recovery Code into the provided field.
- Click the Continue button.
You will be provided with a new Recovery Code.
- Select the Copy code button to copy the code to your clipboard.
- Once you've saved your code, check the I have safely recorded this code checkbox.
- Click the Continue button to complete this process.
Fingerprint or Face Recognition (Passkey)
If you've set up a passkey for your account, you can use it to log into your account.
- Select the Fingerprint or Face Recognition option as your identification method.
- Follow your browser or password manager's instructions for login.
Updated 2 months ago