Action Center Overview
Overview
The Actions Center is a collection of tools designed to simplify remediation workflows for your assets. It allows users to perform actions such as tagging assets, comparing attributes between assets, and sending outbound tickets with asset information to platforms such as ServiceNow.
Actions Panel
The Actions panel is only accessible to Admin users.
The Actions panel is located on the Live Inventory page and can be accessed by selecting the Actions link in the top-right corner of the page.
When clicked, a menu will open on the right side of the page and display several options:
- Create Jira Issue – Allows you to create and send an issue outbound to your instance of Jira. Click here to learn more.
- Create ServiceNow Incident – Allows you to create and send an incident outbound to your instance of ServiceNow. Click here to learn more.
- Tag – Allows you to apply tags to any assets you have selected from the assets list. Click here to learn more.
- Compares – Provides a side-by-side attribute comparison of any two assets you have selected from the asset list. Click here to learn more.
– Go to all saved actions – Takes you to the Actions Center page
Actions Center Page
The Actions Center page is only accessible to Admin users.
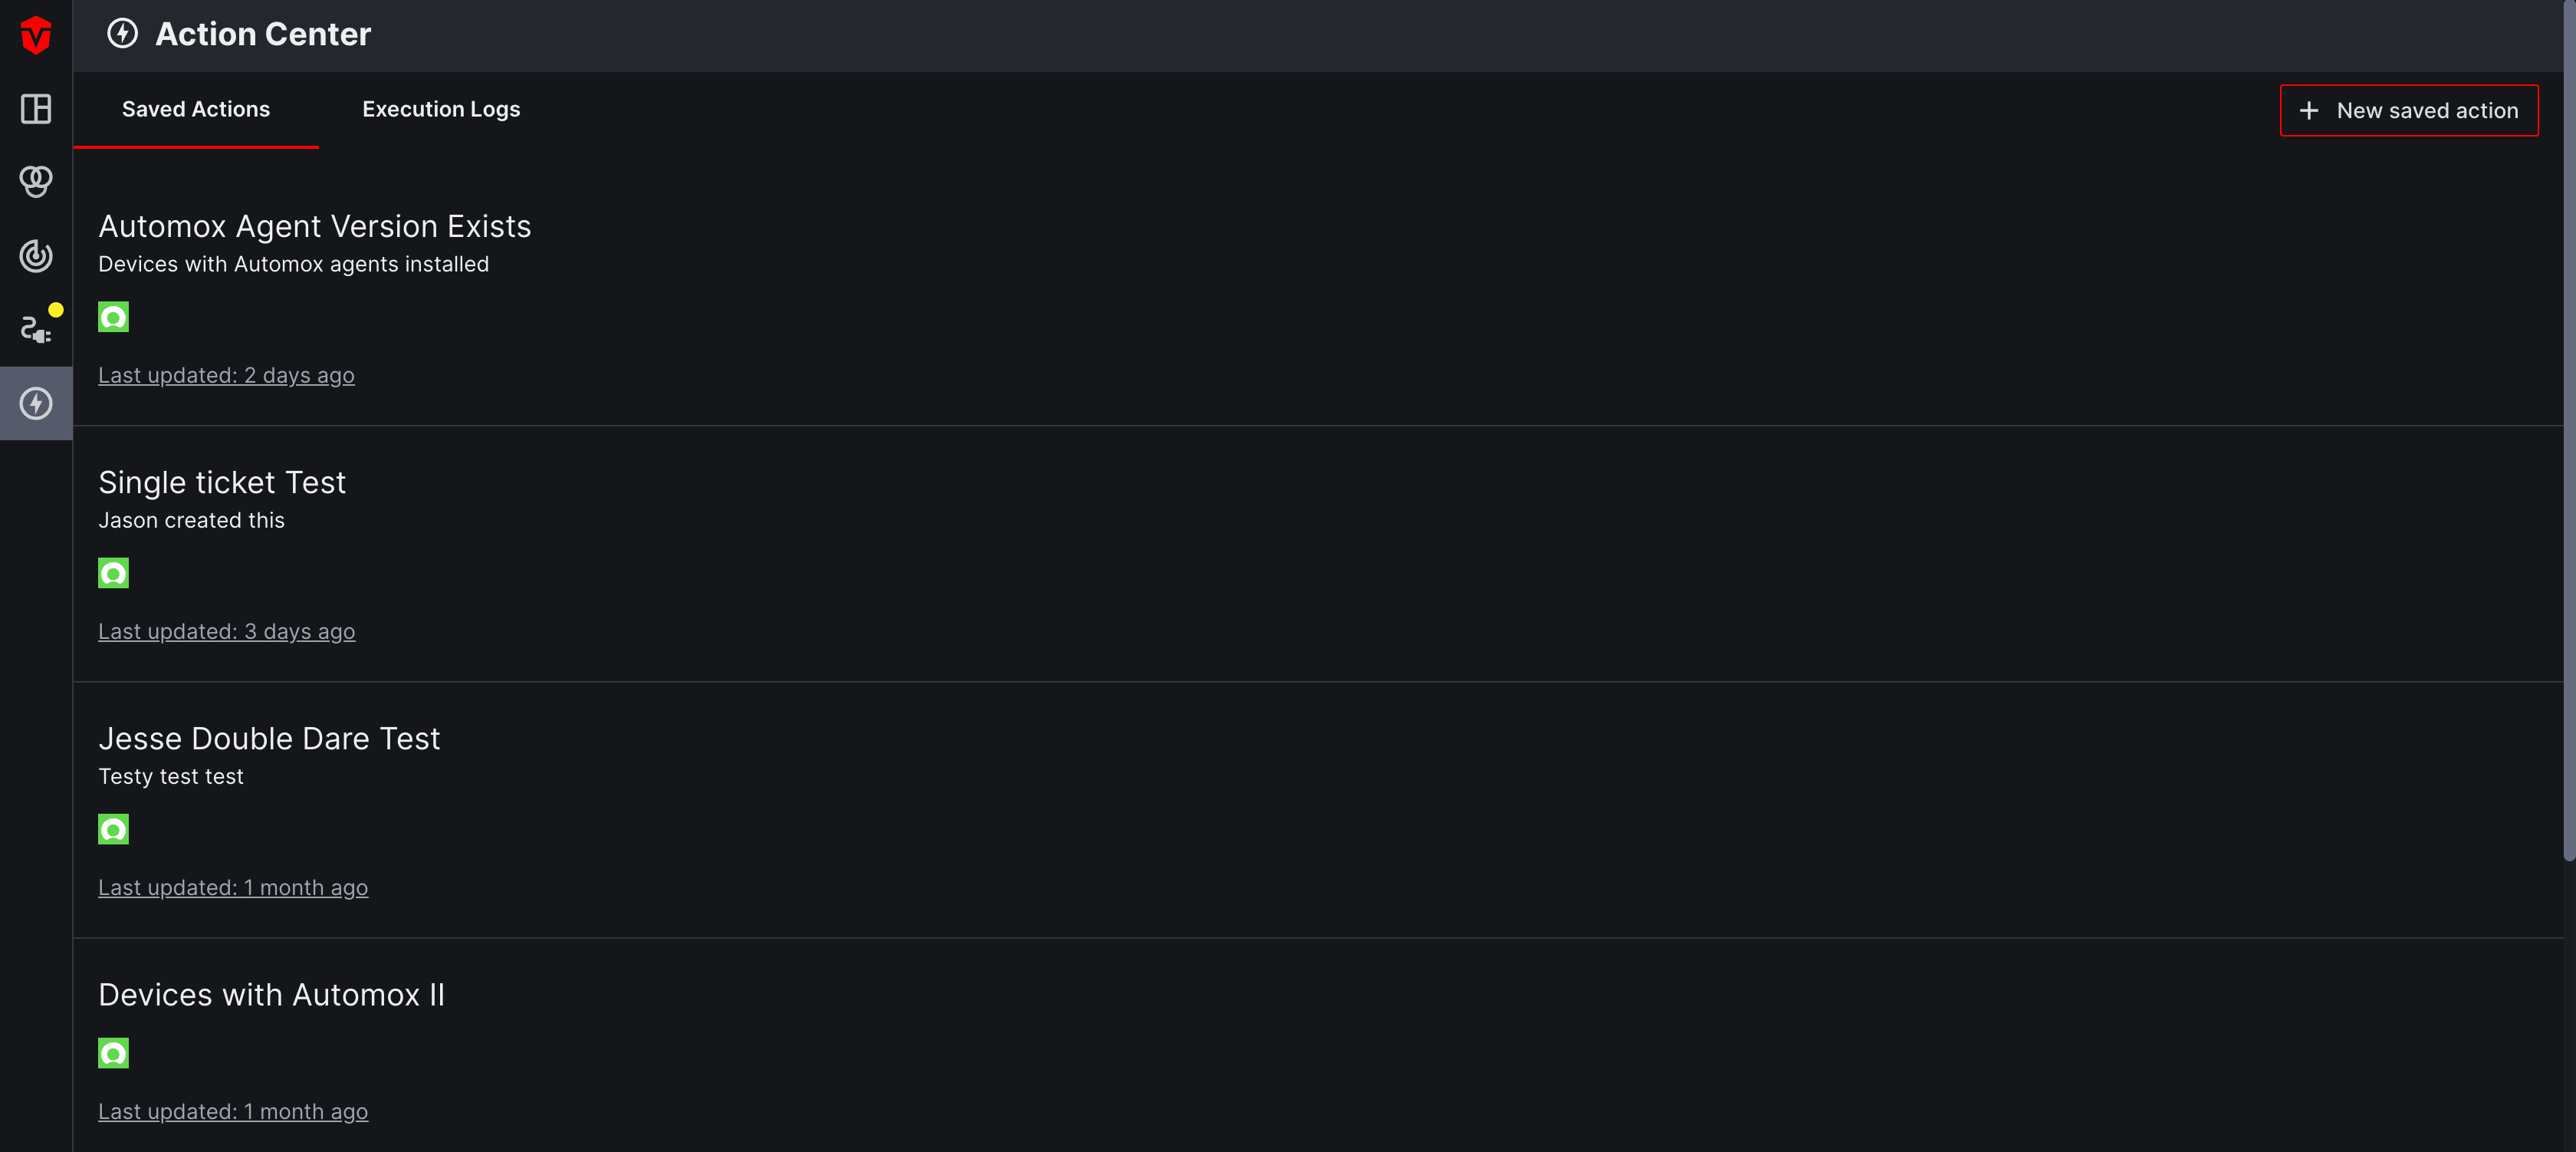
Saved Actions
The Actions Center page contains a list of any saved ticket actions you have created. Here you can view and make edits to any ticket actions you have saved.
You can also create a new saved ticket action by selecting the New saved action button. Once the action is saved, it can be applied to a query on the Live Inventory page.
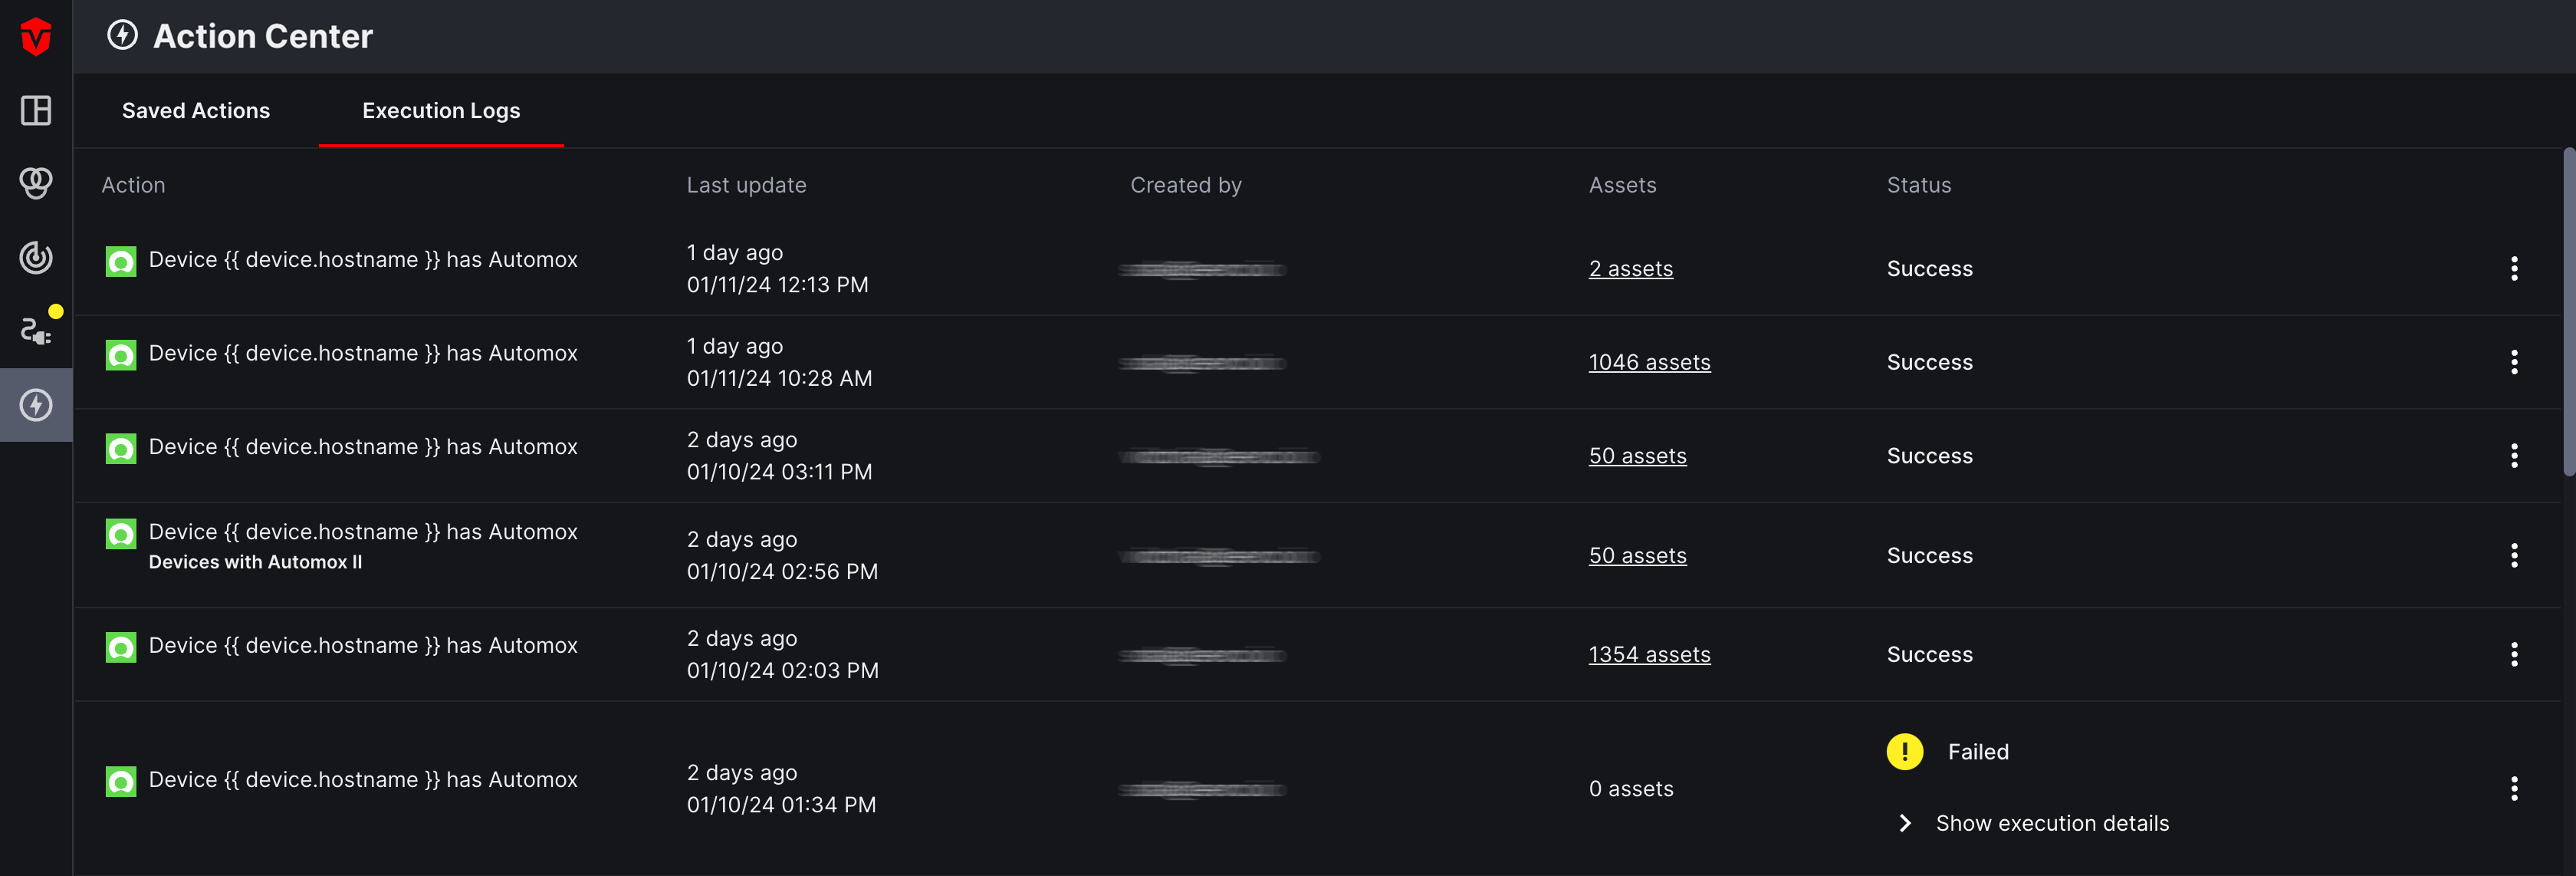
Execution Logs
In addition to managing your saved ticket actions, you can also check the status of a ticket action from the Execution Logs tab to see if it has been sent to ServiceNow successfully.
Updated 3 months ago