Assigning an Asset Remediation Status
Overview
Effectively managing exposures—misconfigurations, controls-coverage gaps, software vulnerabilities, etc.—in your environment is crucial to maintain a strong security posture. After exposures are identified in Aurora ASM and correlated to the assets they impact, you can categorize and track their asset remediation status. Assigning remediation statuses to assets impacted by exposures will make it easier for you to collaborate across your organization and apply automated actions, enabling your team to better report and prioritize remediation tasks and workflows.
Asset Remediation Statuses
There are four asset remediation status types:
- Open – This status is used to identify the assets that still need to be triaged. This will allow you to report and identify exposures that have no action taken yet. This status is assigned by default.
- In Progress – Assign this status type to an asset you have initiated workflow(s) on to remediate or mitigate an exposure. This will allow you to report on the number of assets actively being worked on for that exposure and help prevent duplicated efforts
- Snoozed – Assign this status type if you would like to acknowledge the exposure, but place an asset in a hold state to be considered for remediation at a later date.
- Accepted Risk – Assign this status type to an asset for an exposure that you have implemented a mitigating control on and/or do not plan on remediating. Many compliance frameworks require that you identify, track, and re-evaluate exposures (especially software vulnerabilities) you do not intend to properly remediate within the appropriate time frame. Utilizing this status will allow you to track and report on these exposures when necessary.
It should be noted that statuses are assigned on a per-vulnerability basis. If an asset has multiple exposures, it is possible to assign a different status for each.
Assigning a Status to an Asset’s Vulnerability
Live Inventory
If you are on the Exposure Management page and want to take action or assign a remediation status to open exposures, select the Open link that corresponds to the exposure with assets you would like to assign a status to. You will be redirected to the Live Inventory page where you will see a list of all assets impacted by that exposure that have not had a status assigned.
If you wish to skip this step, you may also go directly to the Live Inventory page and use the filters and query builder to filter for assets you'd like to assign a status to.
Once you have been redirected, use the checkboxes in the inventory list to select the assets you would like to assign a particular status to. Once you have finished, select the Exposure button above the inventory list.
You may notice multiple exposures appear on the Exposure menu. This is because Aurora ASM’s Asset Graph understands the relationship and shared exposures impacting all of the assets in a group. From here, you have the option to set an asset status for one or more exposures using the provided options. In our example, we will only be setting an asset status for the exposure we originally selected.
The following section describes how to assign and configure an asset status for each status type.
Configuring Asset Statuses
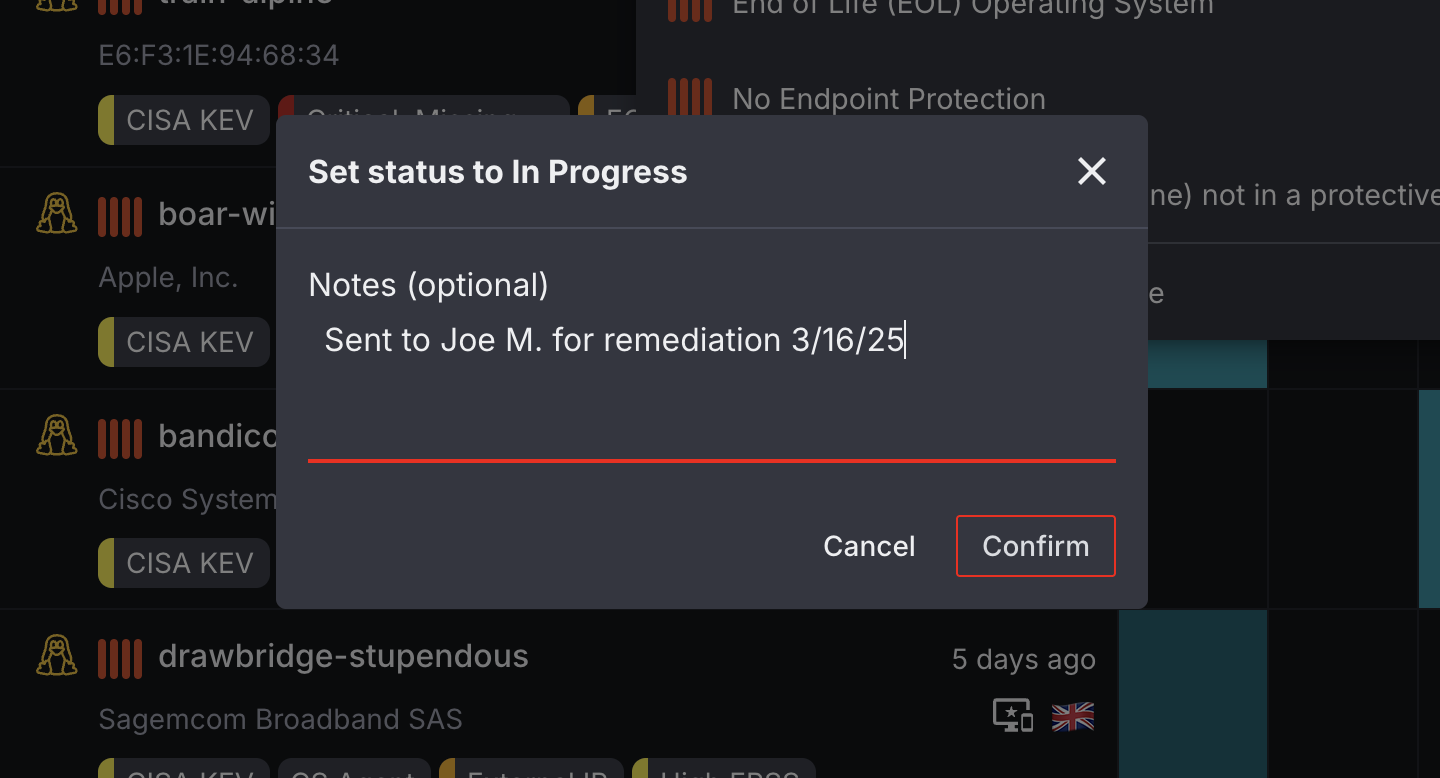
In Progress
Select the In Progress button ( ). A popup will appear and ask you to provide any notes you would like to be displayed on the Asset Details page. Once you have finished adding any notes, select the Confirm button to assign your status.
Snoozed
Select the Snooze button ( ). A dropdown will appear with options for how long you would like to play the asset into a Snooze status. Select your time from the list. Once you have finished, a popup will appear and ask you to provide any notes you would like displayed on the Asset Details page. Once you have finished adding any notes, select the Confirm button to assign your status.
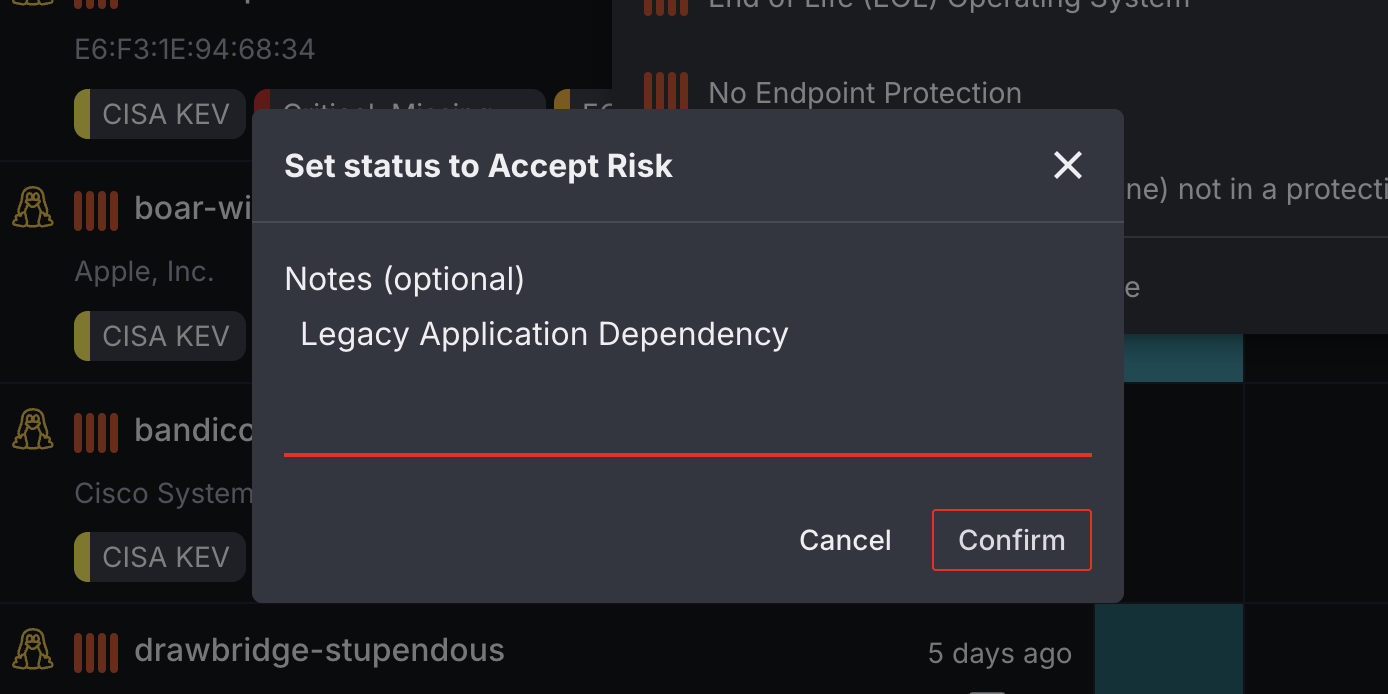
Accept Risk
Select the Accepted Risk button ( ). A popup will appear and ask you to provide any notes you would like to be displayed on the Asset Details page. Once you have finished adding any notes, select the Confirm button to assign your status.
Asset Details
In addition to the Live Inventory page, you can also assign an asset remediation status to an individual asset from its Asset Details page. Once you are on the Asset Details page for an asset, click the Vulnerabilities tab on the left side of the page to access this feature.
For instructions on assigning remediation statuses, see Configuring Asset Statuses.
Undoing an Asset Status
If you've applied an asset remediation status to an asset and would like to remove it, you can do so from the Asset Details page for that asset.
After you have found your asset on the Live Inventory page, select its name or the See Details button to be redirected to its Asset Details page.
Once you are on the Asset Details page, select the Vulnerabilities tab from the menu on the left side of the page.
The undo latest status button ( ) is located to the far-right of the Options column. Select this button to remove the most recent status you've applied to an asset.
If a status was applied prior to the most recent one assigned, it will revert to that status. You can continue to click this button until the exposure status has reverted back to Open.
Updated 3 months ago