Creating a Ticket Action
Overview
The Actions Center is a tool available to Admin users that can be used to send outbound tickets to ticketing platforms, containing information about selected assets from a query. You may wish to use this feature to alert your IT staff of any assets that require their attention. For example:
- Devices with missing or outdated agents
- Devices running on End-of-Life operating systems
- Devices belonging to a specific subset of employees in your organization
Creating a Ticket Action
In this section, we will review the necessary steps for creating a ticket action.
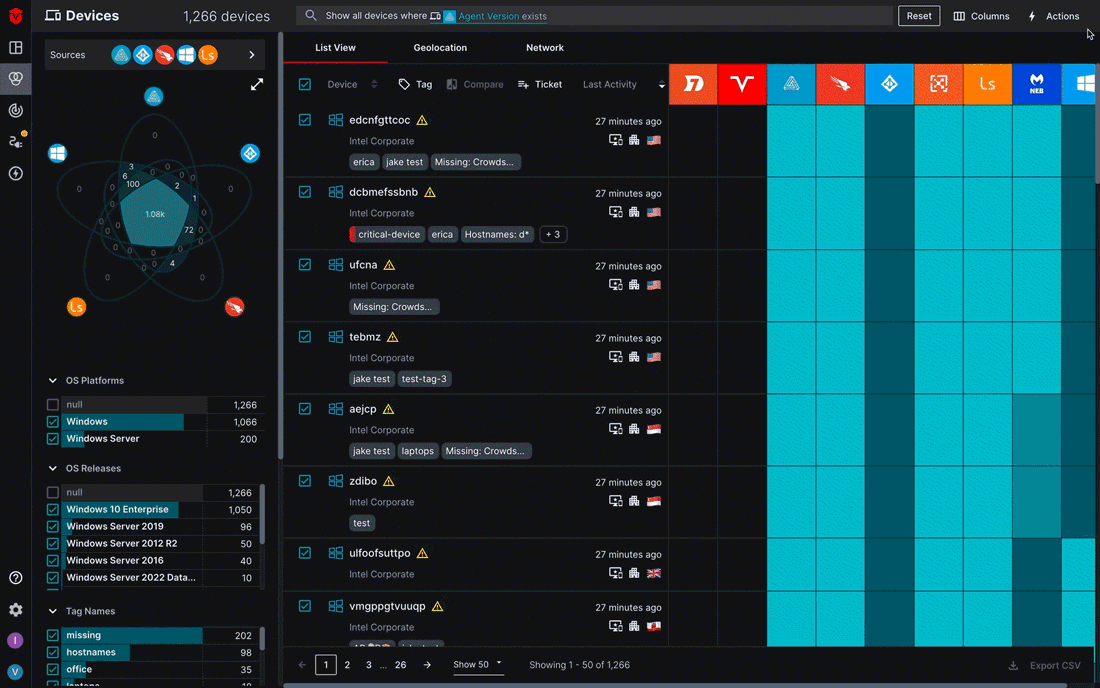
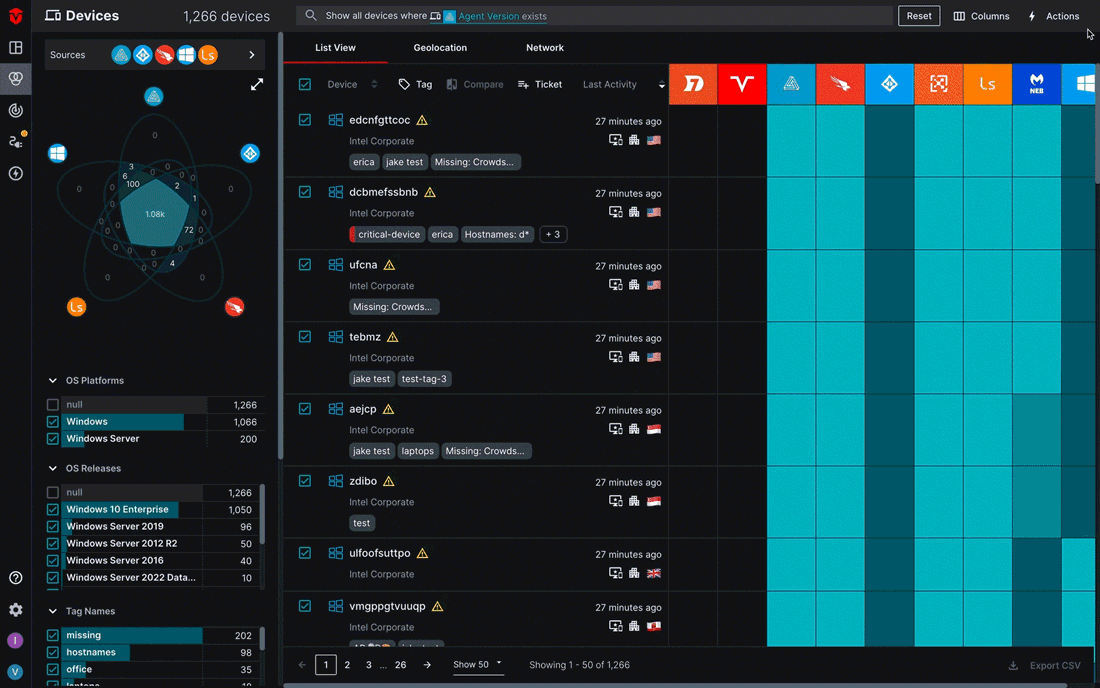
1. Write a Query
Please note that a separate issue will be sent to your ticketing platform for each asset you select from the assets list.
To ensure the correct assets are accounted for in your ticket action, you will want to exclude all other assets from the Live Inventory asset list. This can be accomplished by running a query.
In this example we will be querying for Device assets with a Automox Agent Version that exists

Once your query has been run, use the checkboxes to select any assets you would like to create issues for.
If you would like to include more than one page of results, use the Select all checkbox in the Action panel
2. Select a Ticketing Platform
Once you have run your query and selected your assets, you will be ready to create a ticket action.
Select the Ticket link from the Actions panel or the Actions link in the top-right corner of the page.
A menu will appear on the right side of the page with a list of ticketing platforms. Select the ticketing platform you would like to create a ticket action for.
3. Create and Save Your Template
Please refer to the links below for platform-specific instructions on creating a ticket-action template.
Updated 3 months ago