Tags
Overview
Tags are a powerful organizational tool that allow users to group and categorize assets in the Live Inventory page so they can be easily identified at a later date. Once a tag has been applied to an asset, users can search for that asset by that tag using the query builder or Tag Names filter category.
You may wish to apply a tag to:
- Assets with missing agents
- Assets in a particular location
- Assets belonging to a particular department in your organization
Creating and Applying a Tag
Note: While tags can be created in the Tag Manager page, we recommend creating tags in the Live Inventory page. This allows you to apply them directly to assets while they are being created.
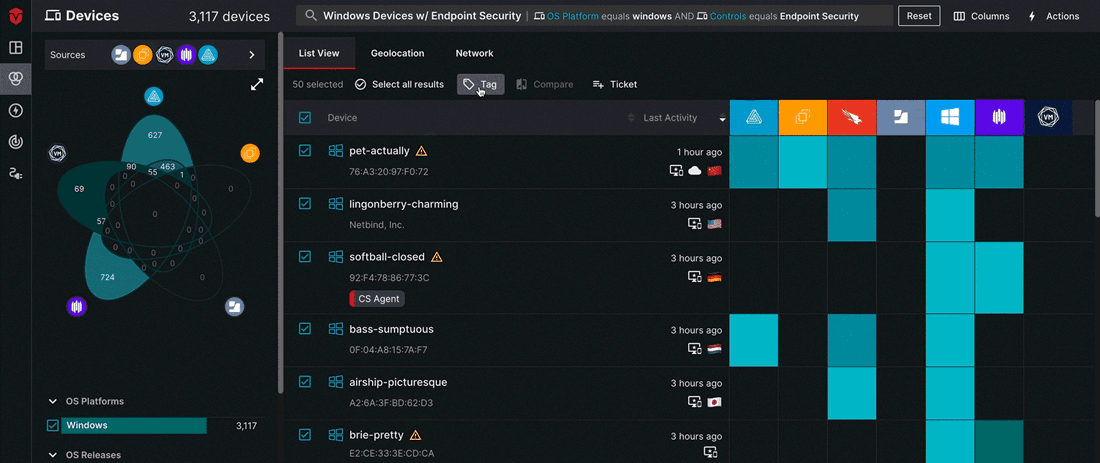
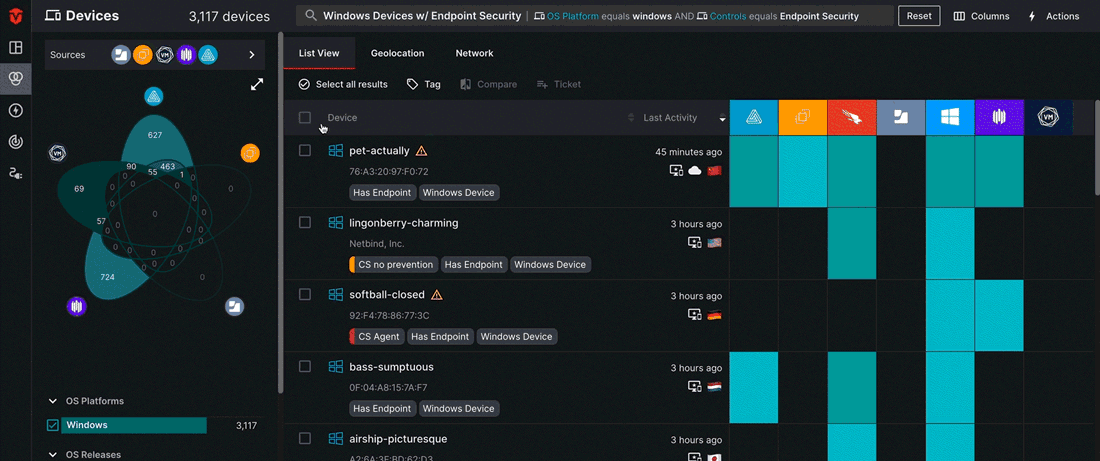
Once you have run a query to narrow down the assets list to only display assets you may want to tag, use the checkboxes to select the asset(s) you would like to apply a tag to.
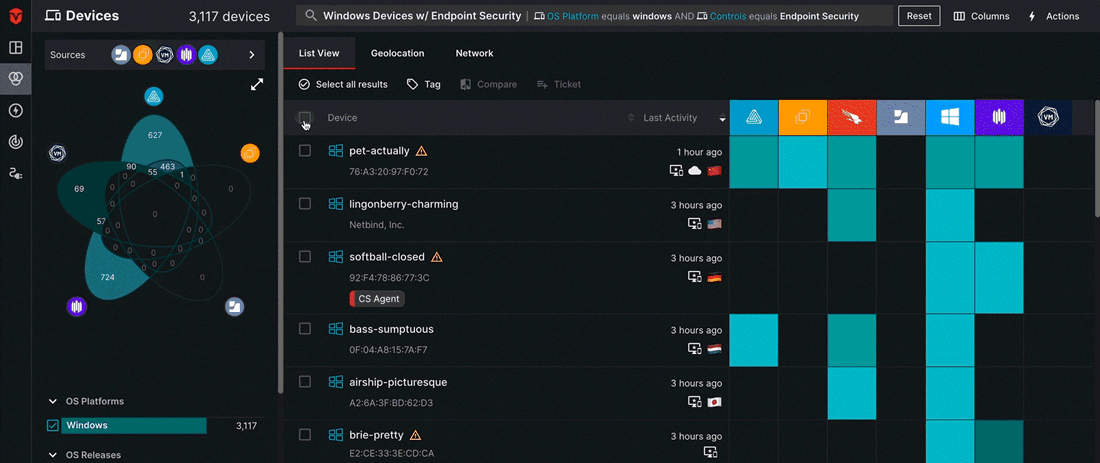
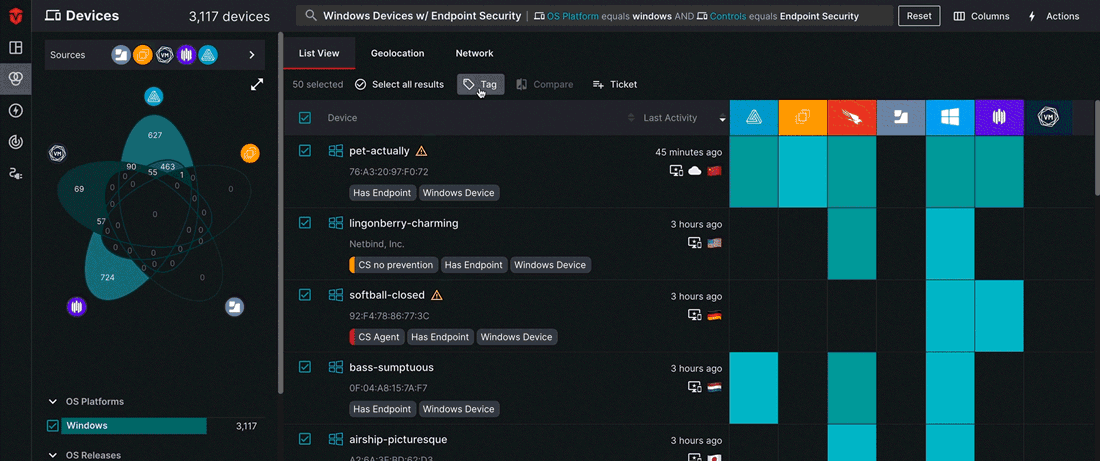
Next, select the Tag button from menu above the assets list. Alternatively, you may also select the Tag button from the Actions panel.
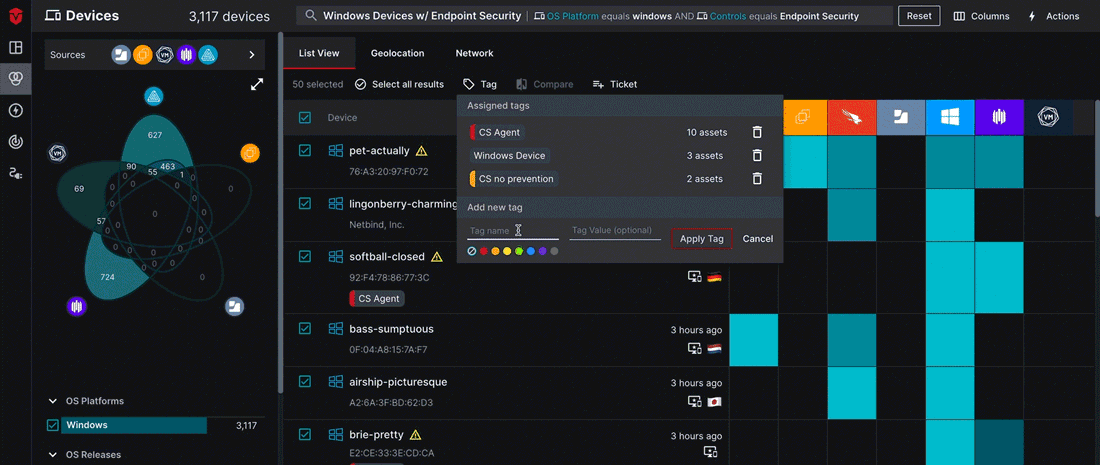
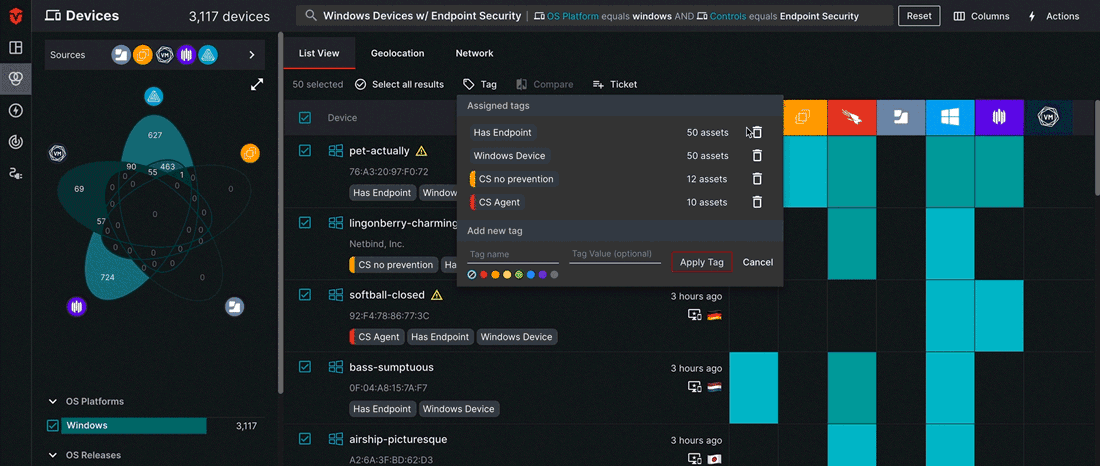
The Tags menu provides fields to assign new or existing tags in the Add new tag section. Additionally, you can view any tags that have been assigned to your selected assets in the Assigned tags section.
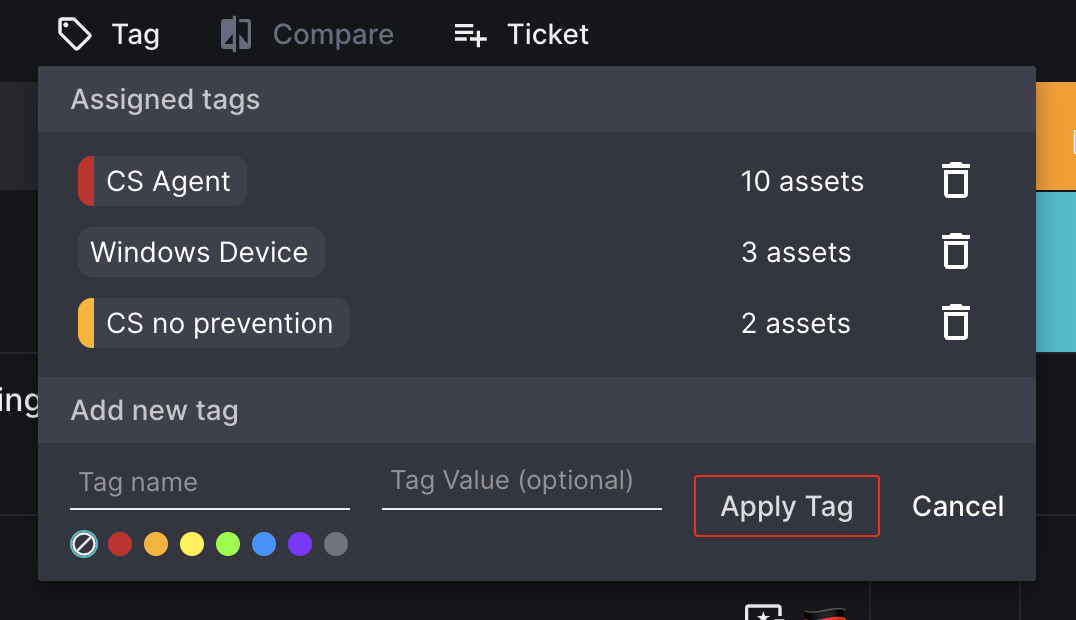
Choose from a list of existing tags or create a new tag in the Tag name field. Add an optional tag value if desired.
Once you have finished, select the Apply Tag button to apply the tag to your assets.
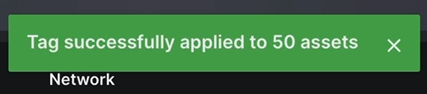
A Tag successfully applied to assets message will appear and your tag will be displayed as an attribute for each asset on the assets list.
Removing a Tag
From an Asset
Note: This method of tag removal only removes tags from assets. Please refer to the following section for instructions on removing them from your organization entirely.
Tags are removed in a similar way to how they are applied. Start by using the checkboxes on the asset list to select asset(s) you would like to remove a tag from.
Next, select the Tag button from menu above the assets list. Alternatively, you may also select the Tag button from the Actions panel.
A list of all tags that have been applied to your selected assets will appear in the Assigned tags section of the Tags menu. You can remove a tag by selecting the remove icon ( ).
).
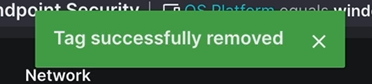
Once your tag has been removed, a Tag successfully removed message will appear and you should no longer see it listed as an attribute for your selected assets on the assets list.
From the Tag Database
Note: To completely remove a tag from the tag database, you must remove it from all assets it has been applied to. Otherwise, the tag will only be disabled (unable to be applied to new assets).
While removing tags on the Live Inventory page removes them from assets, it does not remove them from your tags database. Tags can only be removed from your tags database from the Tags page.
Admin users can access this page by selecting the Admin icon on the Navigation bar and selecting Tags from the dropdown.
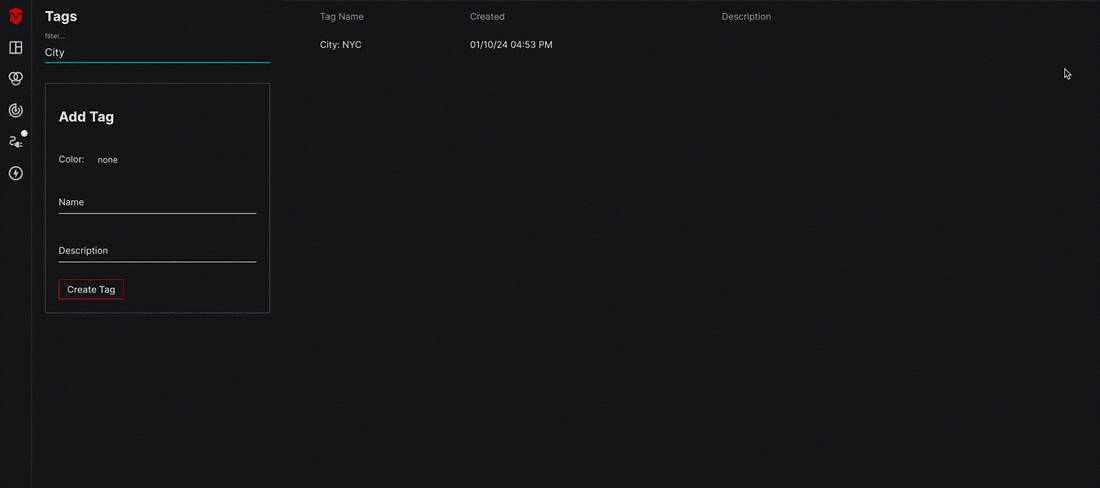
If your organization has a large number of tags, you can use the filter field, to search for the tag you would like to remove from your tag database.
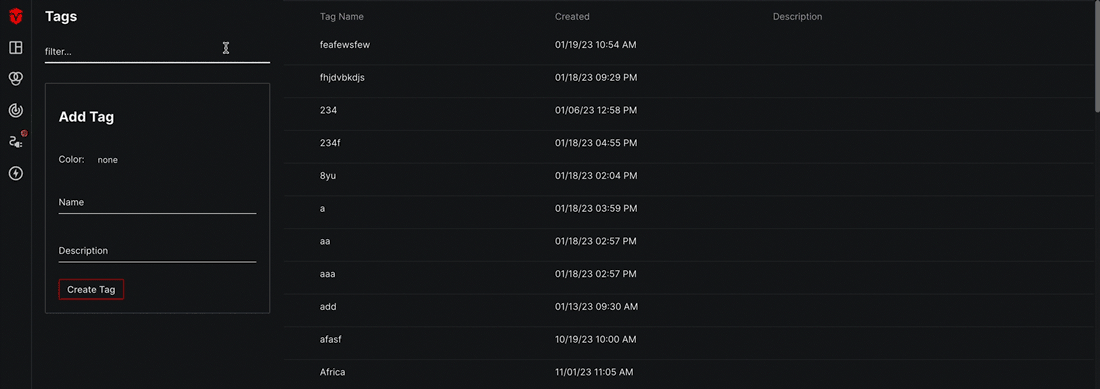
Once you have identified your tag, hover over it on the tag list and select the delete icon (). A popup will appear, asking you to verify that you would like to delete the tag. Select the Delete Tag button to confirm.
Once your tag has been deleted, it should no longer appear in the tag list.
Applying Tags to Saved Queries
Please refer to Configuring Actions for Saved Queries for instructions on applying tags to assets in saved queries.
Updated 3 months ago