Creating a Jira Issue
Overview
In this article, we will review the steps for creating a Jira Issue. Please refer to Creating a Ticket Action before reviewing this article.
Add a New Atlassian Configuration
This step might have been completed by another user in your Organization. If this is the case, you may skip ahead to the following section.
Before you can send issues to Jira, you will need to configure the Atlassian Jira integration. Follow these instructions for configuring the integration.
Creating a Jira Issue
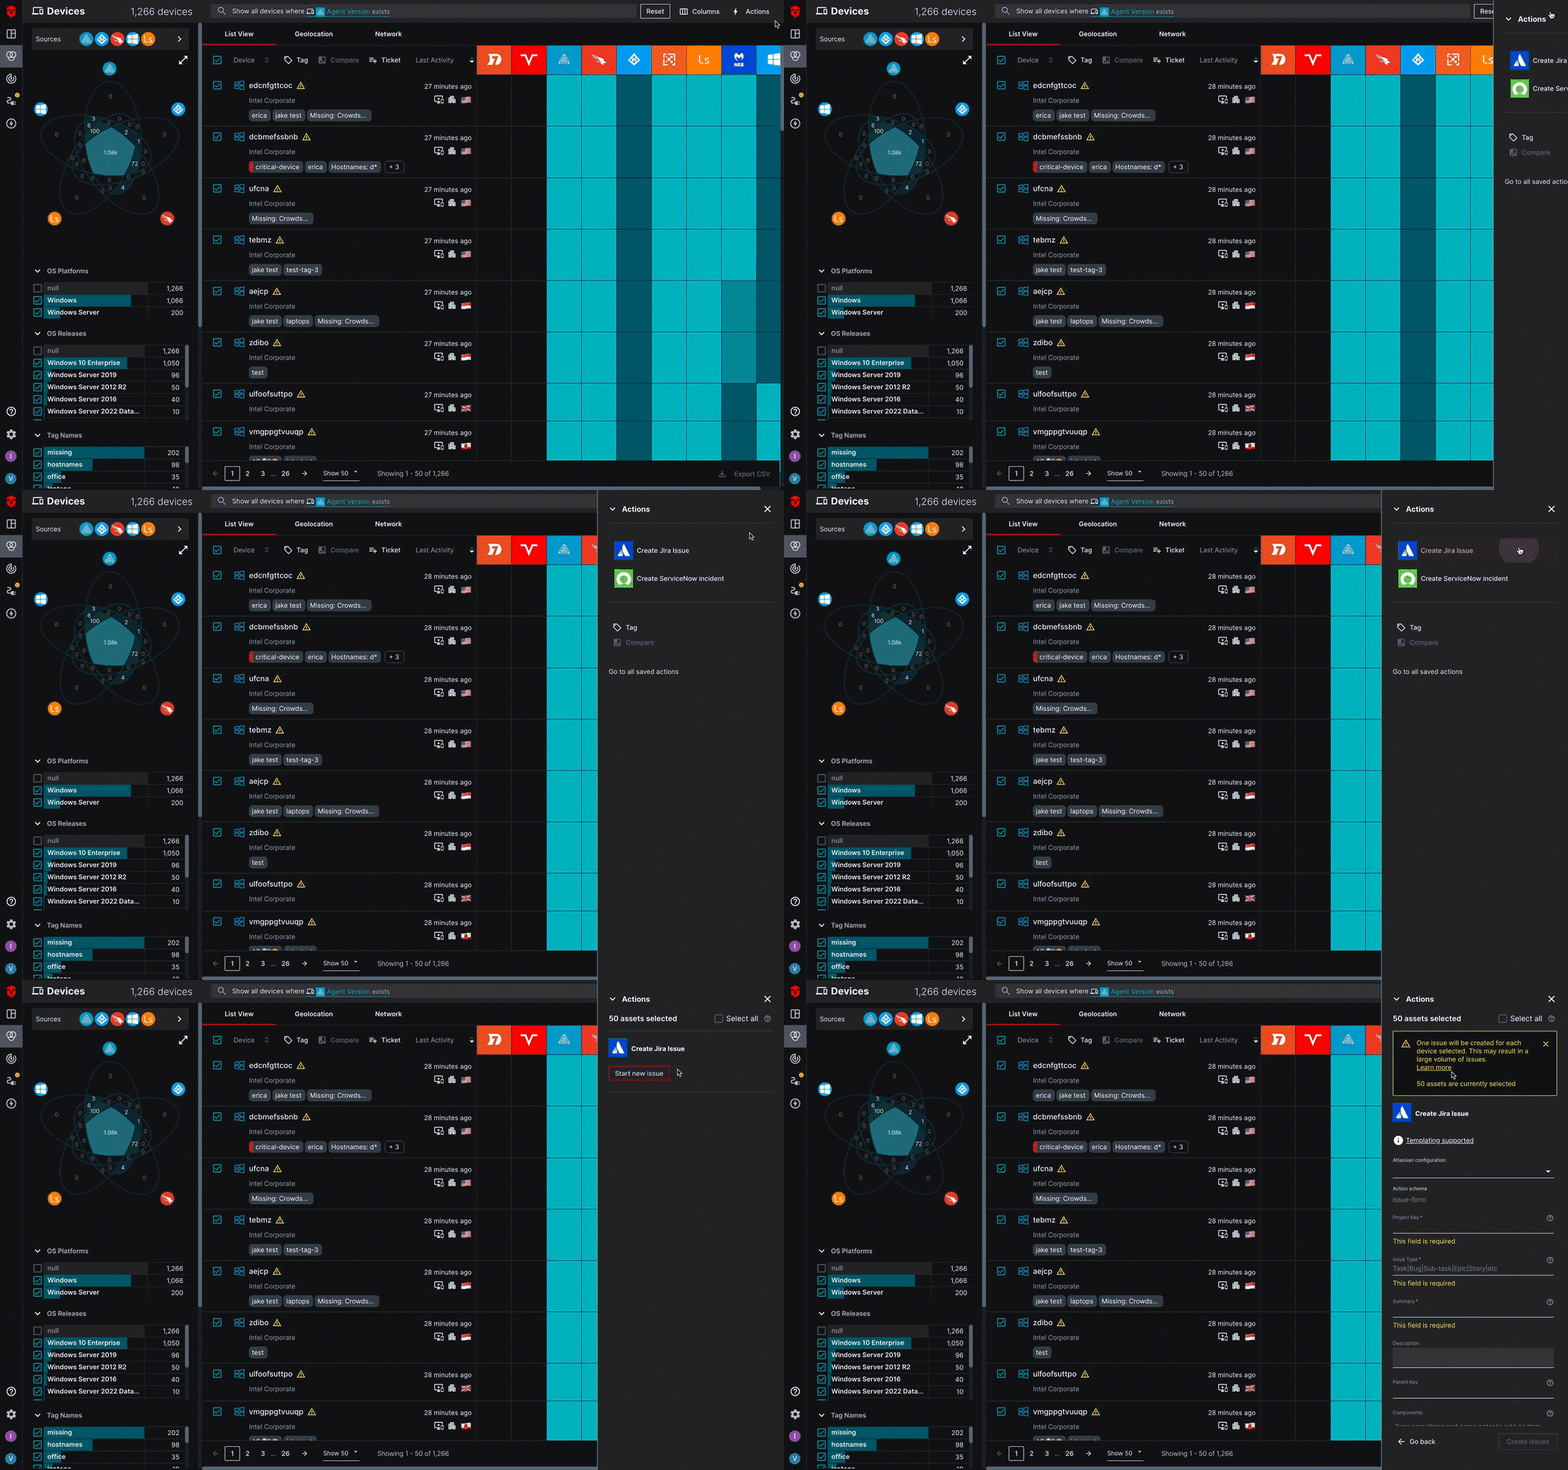
Once you have run your query and selected your assets, you will be ready to begin creating a Jira issue.
Select the Actions link in the top-right corner of the page followed by the Create Jira Issue link. Next, select the Start new issue button.

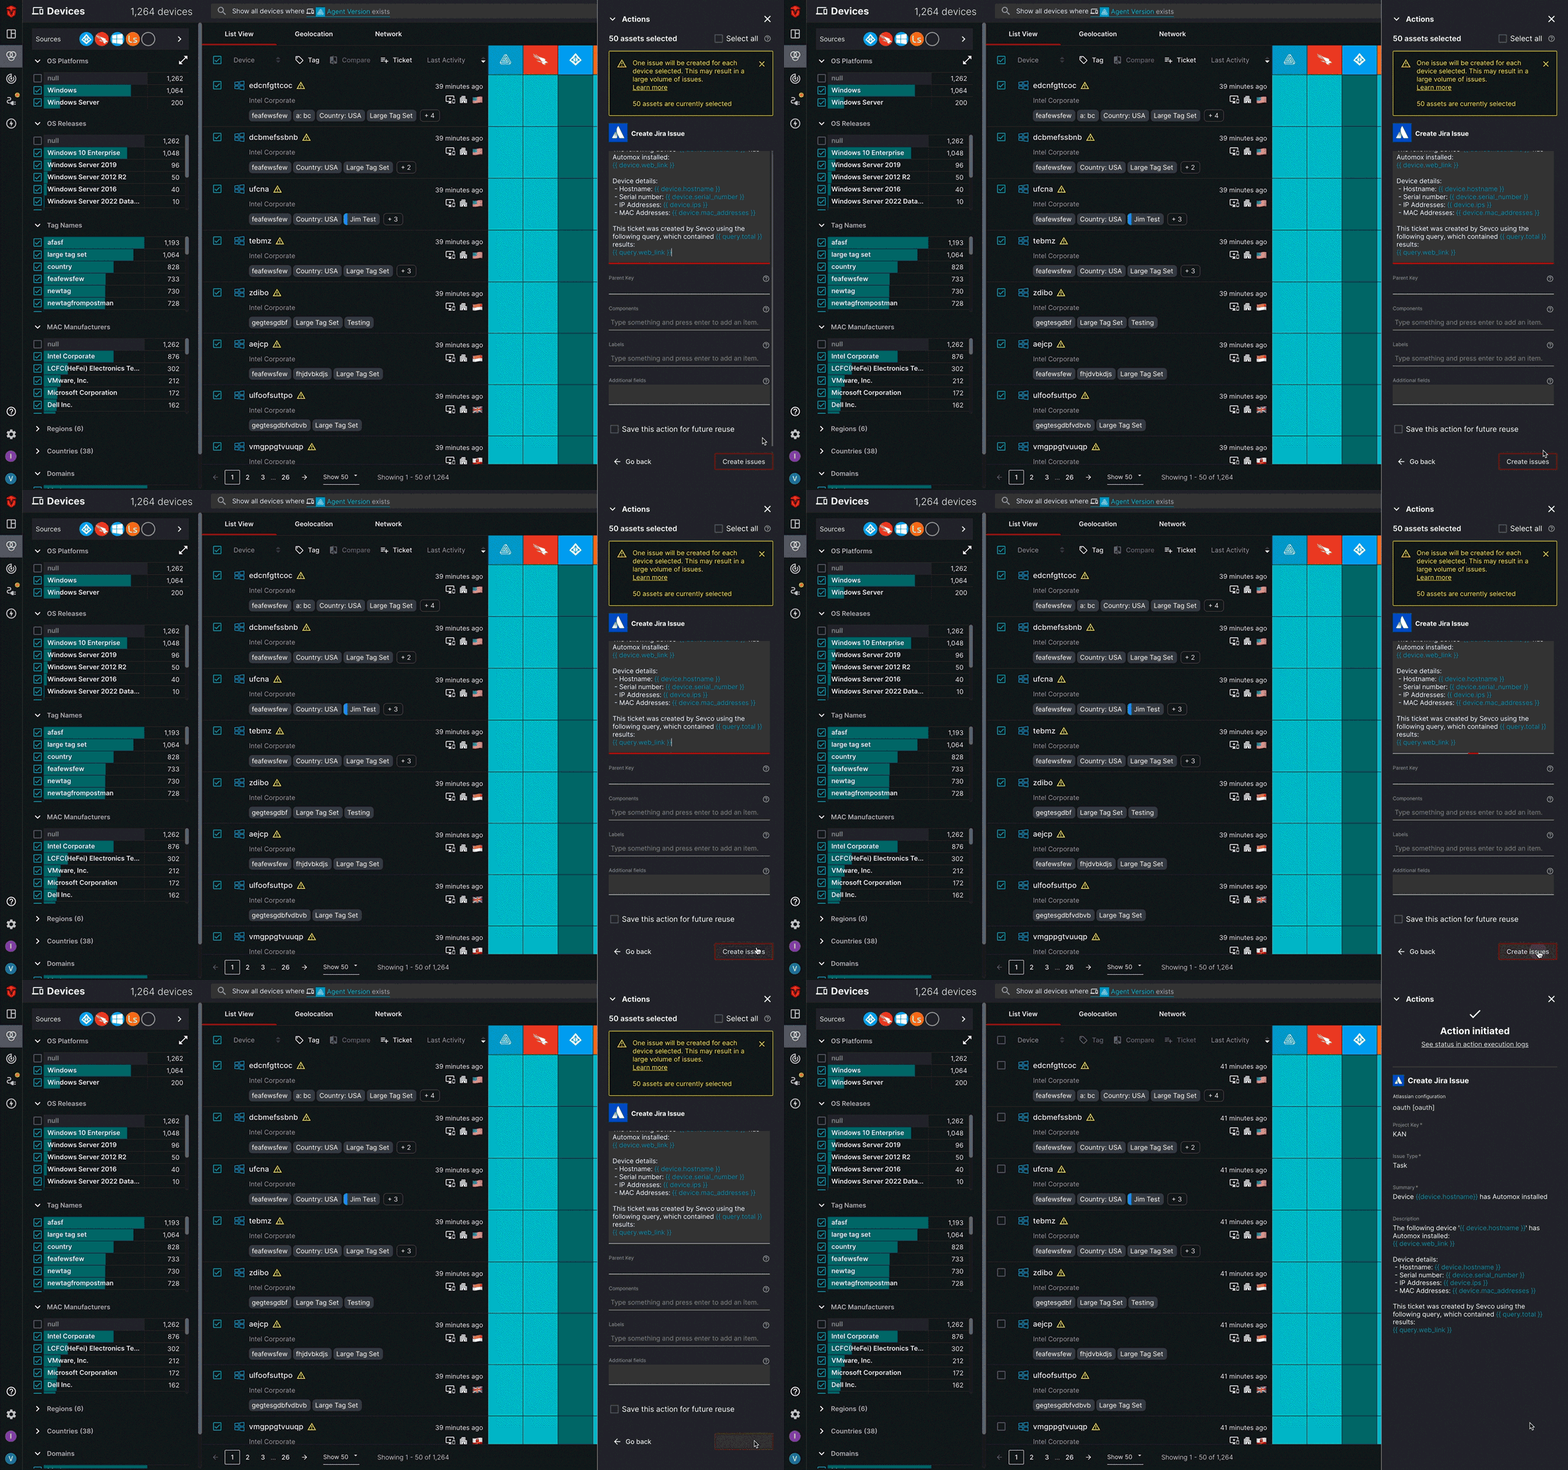
3. Fill out the Issue Form
We recommend referring to the Jira Issue Form Fields section of this document before filling our your issue form.
Next, you will need to fill out your issue form. This can be done using a combination of plain text and template language tags. Required fields are marked with an asterisk(*).
4. Send Your Issue
Once you have finished, select the Create Issues button. This will send your issue to Jira.

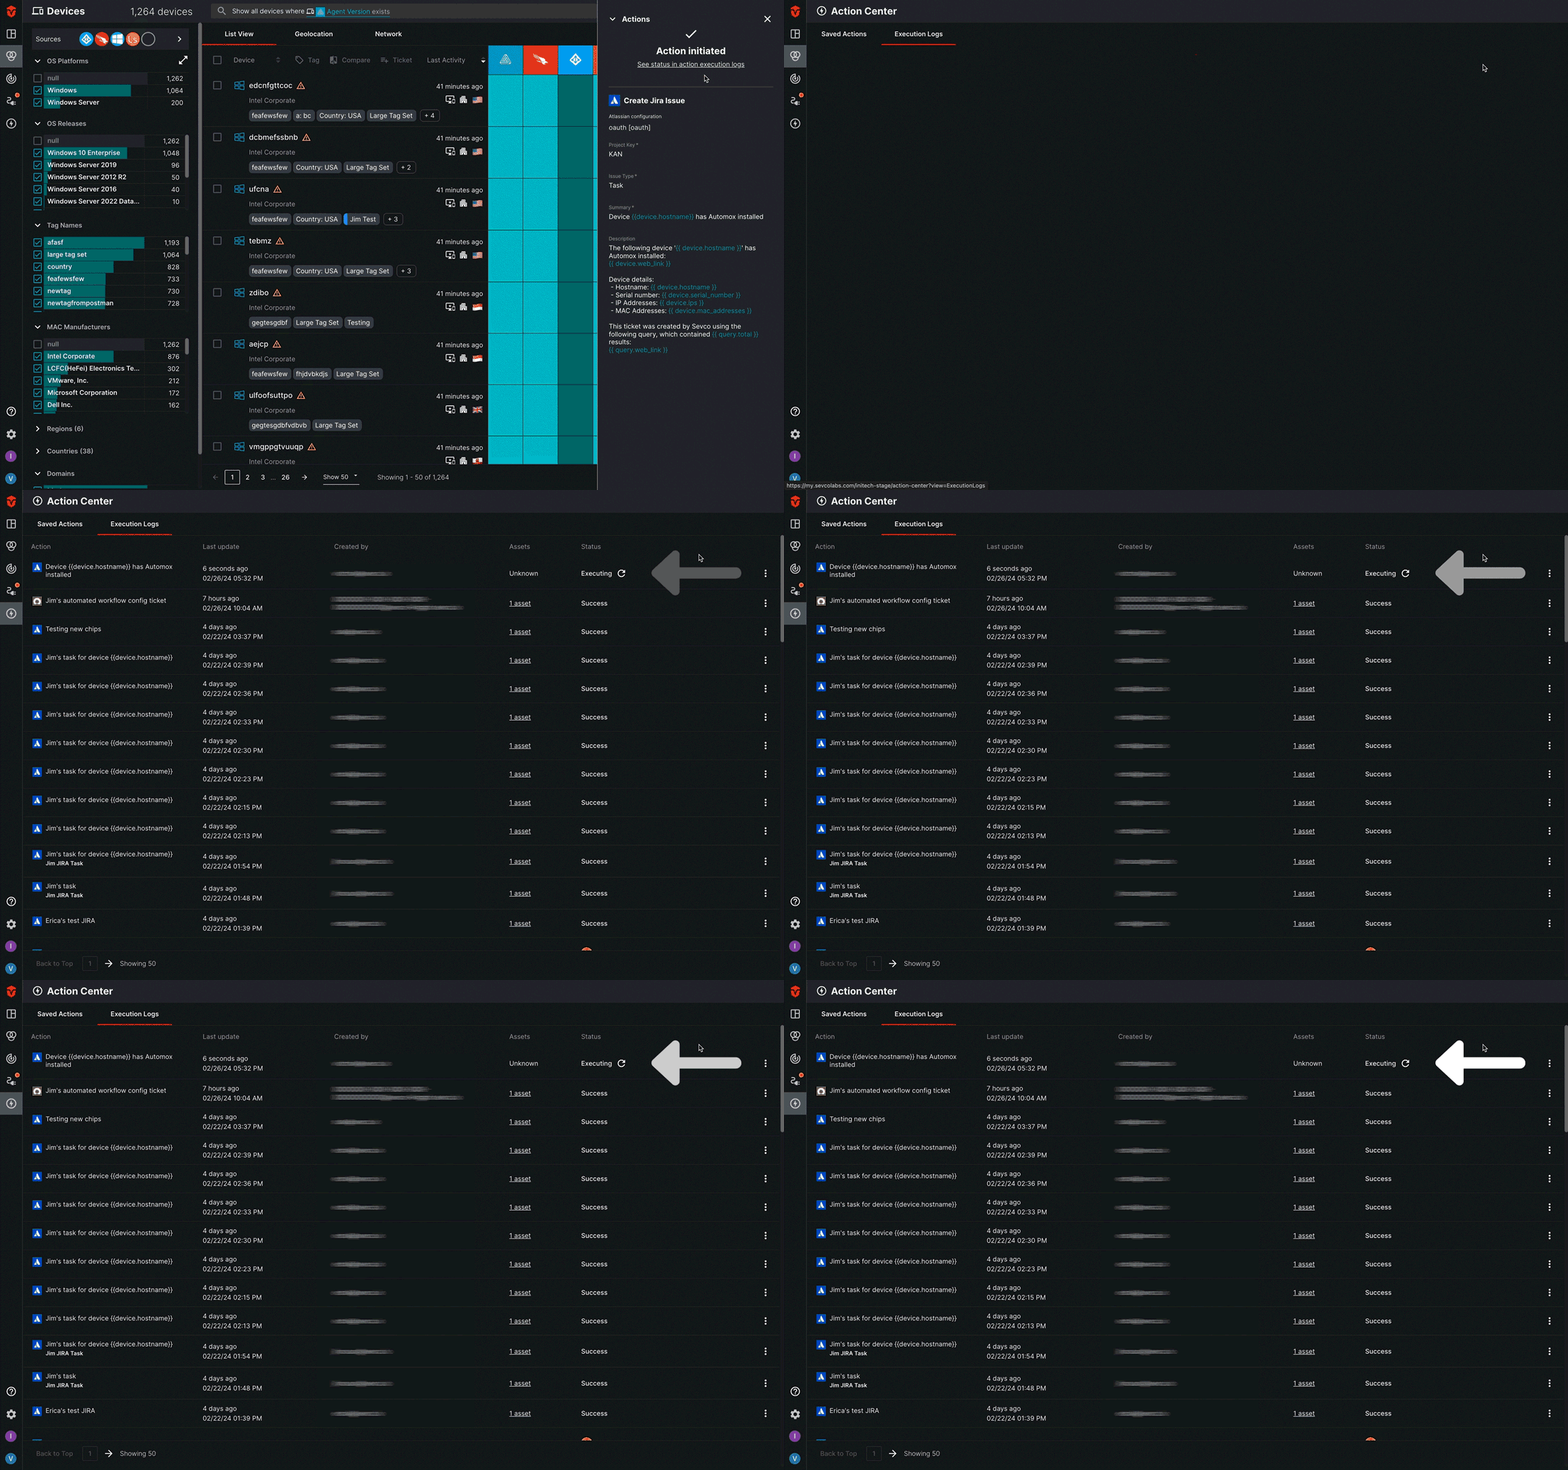
An Action initiated message will appear, indicating that your issue has been sent successfully. From here, you can select the execution logs link to view its delivery status on the Action Center page.

Jira Issue Form Fields
The following are definitions for the Jira issue form fields you will be filling out.
Project Key – A Project Key is a unique alphanumerical code associated with your project in Jira. Provide the Project Key that corresponds with the project you would like to create an issue for in Jira (i.e. PROJ123). Please note that this field is case sensitive
Issue Type – Jira uses the Issue Type field to distinguish between different types of work. Select the Issue Type that corresponds with how you would like Jira to identify and categorize your issue (i.e. Task, Bug, Epic, etc.) Please note that this field is case sensitive.
Summary – Jira uses the Summary field to create the title of the issue you are creating. Enter a brief summary that best describes the issue you are creating.
Description – Use this field to include any important information about the assets you have included in your issue.
Parent Key – Parent Key is an optional field that can be used to correlate an issue with a superior parent issue in a hierarchical relationship. Enter a Parent Key if you would like your issue to be created as a child of another issue (i.e. PROJ-123). Please note that this field is case sensitive.
Components – The Component field is an optional field that can be used to create categorization labels that help classify and organize an issue within a project (i.e. C#, javascript, python), allowing for better management and tracking of work related to specific features or functionalities.
Labels – The Label field is an optional field that can be used to create a descriptive tag (i.e. bugfix, enhancement) that is assigned to an issue to categorize and organize it based on keywords or themes.
Additional Fields – Use this optional field to specify any additional fields required for an issue as key-value pairs in a JSON format. In order for user-defined fields to resolve correctly, specify the customfield_ prefix and use the field ID (i.e.{"Priority":"High", "customfield_12345":"value"})
Updated 10 months ago
