Saving a Ticket Action
Overview
For ticket actions you plan on sending out regularly, you may wish to save them to avoid having to fill out ticket action forms each time. This can be done direction in the Actions panel on the Live Inventory page or from the Action Center page.
Saving a Ticket Action
Live Inventory
Once you have finished creating your ticket , scroll to the bottom on the panel and select the "Save this action for future reuse" checkbox.
Two additional fields will appear. Enter a name for your ticket action and an optional description. Once you have finished, select the Create incidents and save action button. This will send your incident to ServiceNow and save the ticket action to your organization in Aurora ASM.
Action Center
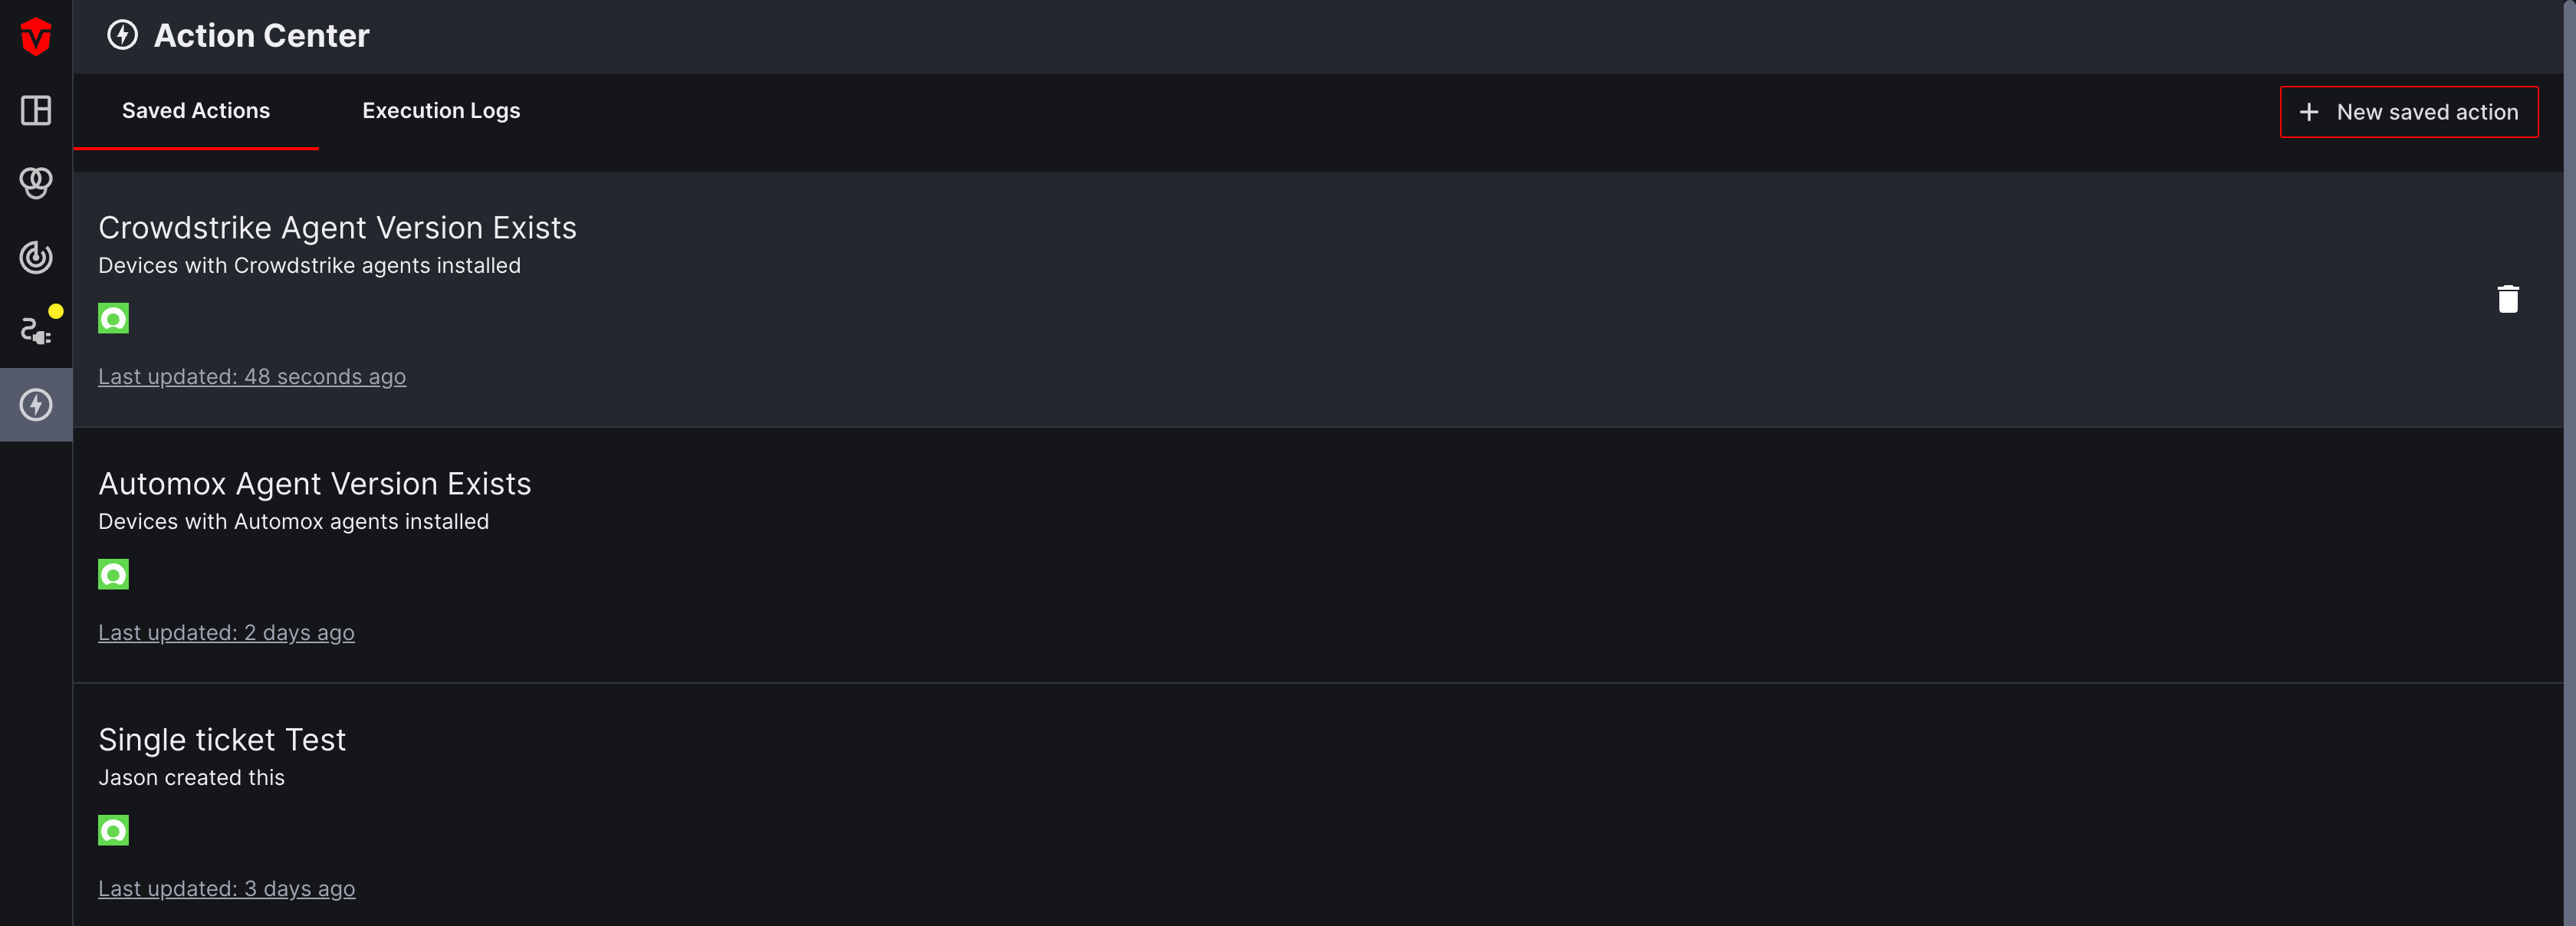
Creating a saved action from the Action Center page allows you to save an action without sending a ticket to ServiceNow. To do so, select the New saved action button in the top-right corner of the page.
Enter a name and an optional description for your saved action. Once you have done this, you can continue filling out the incident form like normal. When you have finished, select the Save action button at the bottom of the panel.
Once your action has been saved, it will appear in the Saved Actions list.
Updated 3 months ago